Ledger
Introduction
Hardware wallets like Ledger are considered some of the most secure ways to store and use cryptocurrencies as they keep your private keys off of online devices that could be compromised by malware or mismanagement. This page will walk you through the process of setting up a Ledger device to use with the xx Network. Please keep in mind that even if you are familiar with using Ledger devices, there are some unique key generation steps when creating xx Network wallets due to the quantum-ready signature scheme that has been developed to address the looming threat of quantum computing on cryptocurrency wallets.
Functionality (Light vs XL versions)
There are two options available when downloading the xx Network app onto your Ledger device: a “light” version and an “XL” version. The difference between them is simply the amount of functionality they support and the amount of space they take up on your Ledger device.
XL Version
The XL version is capable of signing almost every type of transaction available in the xx Network Web Wallet with the primary exceptions being Democracy transactions (you can use a governance proxy if you’d like to secure your wallets with a Ledger but still participate in voting). If you are running a validator (node) then it is highly recommended you use the XL version. The XL version will generally require an entire Ledger device dedicated to it as it will take up the majority of memory on a standard Ledger Nano S.
Light Version
The light version will sign the majority of transactions needed for a light user of the network: balance transfers, staking, and nominating. The light version does not support some key functions needed for running a node or setting a proxy so if you want to run a node or participate in Governance then you will need to add your account directly in the xx wallet temporarily or upgrade to the XL version.
You can see the complete list of compatible functions for both versions at the bottom of the Github repository.
Account Generation
xx Network wallets can be created using the novel Sleeve Wallet Generation tool which is available on the Sleeve website and the Web Wallet.
Sleeve allows a quantum-secure wallet to be embedded into the creation of a standard non quantum-secure wallet. The quantum-secure wallet will be used in the future, once xx Network adopts quantum-secure cryptography, but for the time being, the standard wallet is in use. Any standard wallet created using Sleeve will be upgradable to their respective quantum-secure wallet.
(Optional) Create a Sleeve wallet
Even after adoption of quantum-secure cryptography, xx Network will continue to support non quantum-secure wallets. This means that creating a wallet using Sleeve is recommended, but not mandatory. If you decide to use Sleeve to create your xx Network wallet, you won't be generating your account directly on the Ledger device.
Instead, you should use our offline wallet generation tool to create both a standard and quantum secure recovery phrase.You will then use the standard recovery phrase to initialize your Ledger device. The offline wallet generator tool will securely generate two recovery phrases: a standard recovery phrase and a quantum secure recovery phrase. Refer to Using the Wallet Generator for a walkthrough of the steps needed to download and install the wallet generator tool.
Once you’ve generated your recovery phrases, make sure to keep them somewhere safe where they won’t be lost or stolen. These phrases will give complete access to your wallet.
Setup Ledger Device
Download Ledger Live
Go to the Ledger website and download and install the Ledger Live app.
Once you’ve installed and opened Ledger Live, plug in your Ledger device.
(Optional) Setup your device with recovery phrase
If you previously created an xx Network wallet using Sleeve, follow this instructions. Otherwise, skip to the next section.
You will be using the RESTORE YOUR LEDGER ACCOUNTS WITH YOUR RECOVERY PHRASE process to setup the device as detailed on the Ledger support.
During this process you will enter the standard recovery phrase (NOT THE QUANTUM RECOVERY PHRASE) directly into the Ledger device.
Download the xx Network Ledger app
With your account successfully added to the Ledger device you will need to add the xx Network app to your Ledger.
Make sure the Ledger is plugged in and unlocked and then open the Ledger Live app.
Go to the "My Ledger" tab and search for the xx Network app. Choose the XL or light version according to your needs and click Install.
Small note about Ledger accounts
The xx Network blockchain is developed using Substrate, which has its own wallet derivation scheme using substrate-bip39. This scheme is used by both the Web Wallet and the Wallet Generator app (which displays the generated wallet address in the last step).
However, Ledger devices use the industry standard bip39, which differs from the Substrate one. This means that the same recovery phrase will NOT result in the same wallet when setup on a Ledger device or the Web Wallet. Please keep this in mind when proceeding in the next steps.
Using the Ledger Wallet
Add Account to the Web Wallet
Now that you’ve set up your Ledger wallet, you’re ready to begin using it with the Web Wallet
The first thing you need to do is add your Ledger Wallet account to the xx wallet. Note that this does not store your keys in the browser, they remain secure in the Ledger device so you will need to have your Ledger available anytime you want to sign a transaction.
First, plug your Ledger device into your computer, unlock it and open the xx network app.
Once the app is open, go to the wallet. Click on the Accounts tab and then select the Accounts menu item.
Click on Add via Ledger.
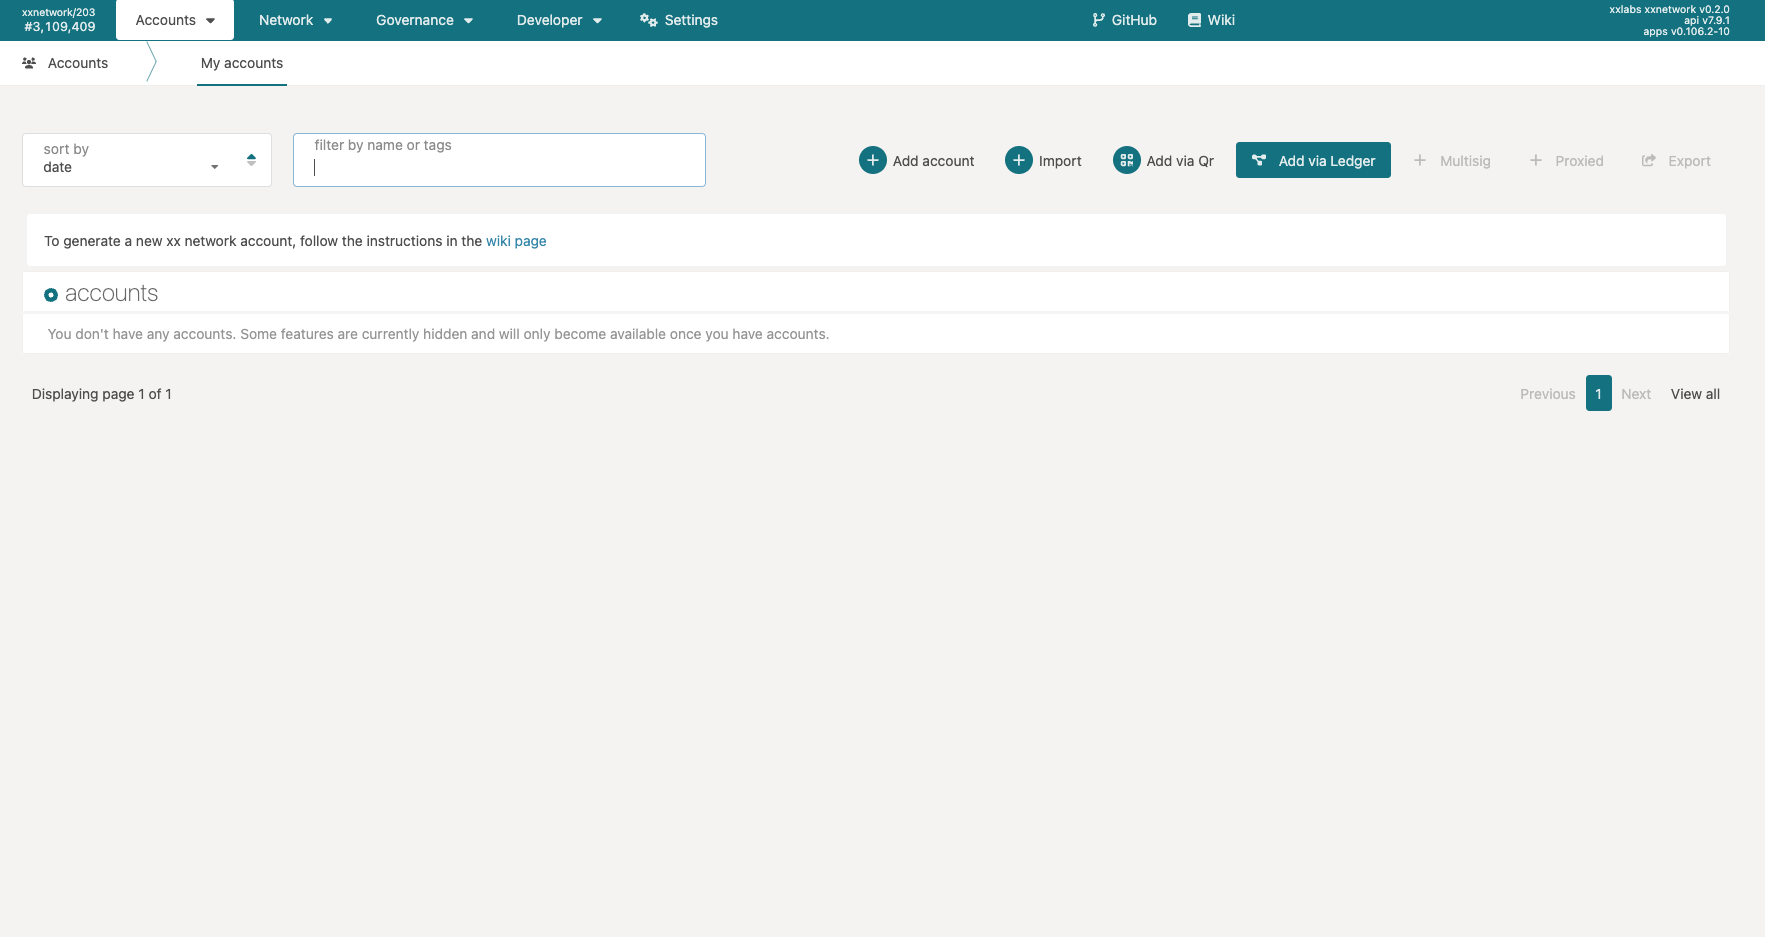
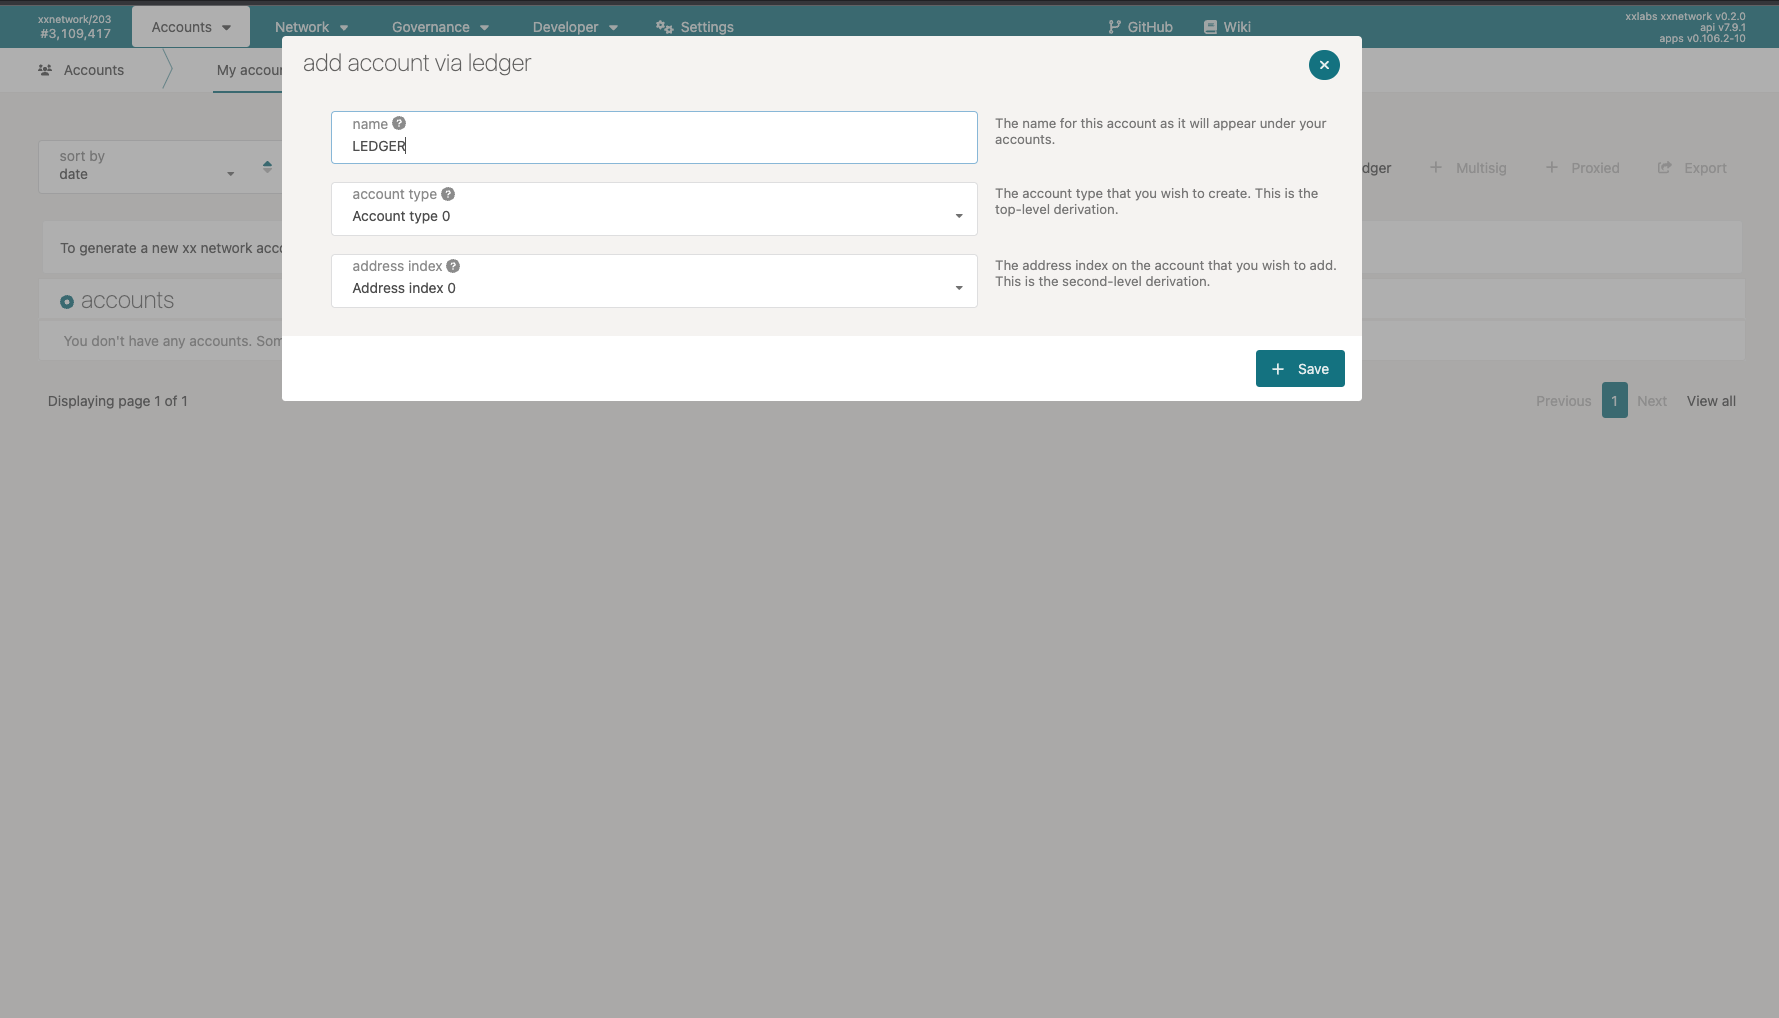
You will be asked to name your account and presented with some options for creating derived accounts. The name of your account can be anything you want and will only be seen by you. You may change it at any time after adding it to the xx wallet. Derivations will not be covered in this wiki page.
Press the Save button to continue after choosing the name.
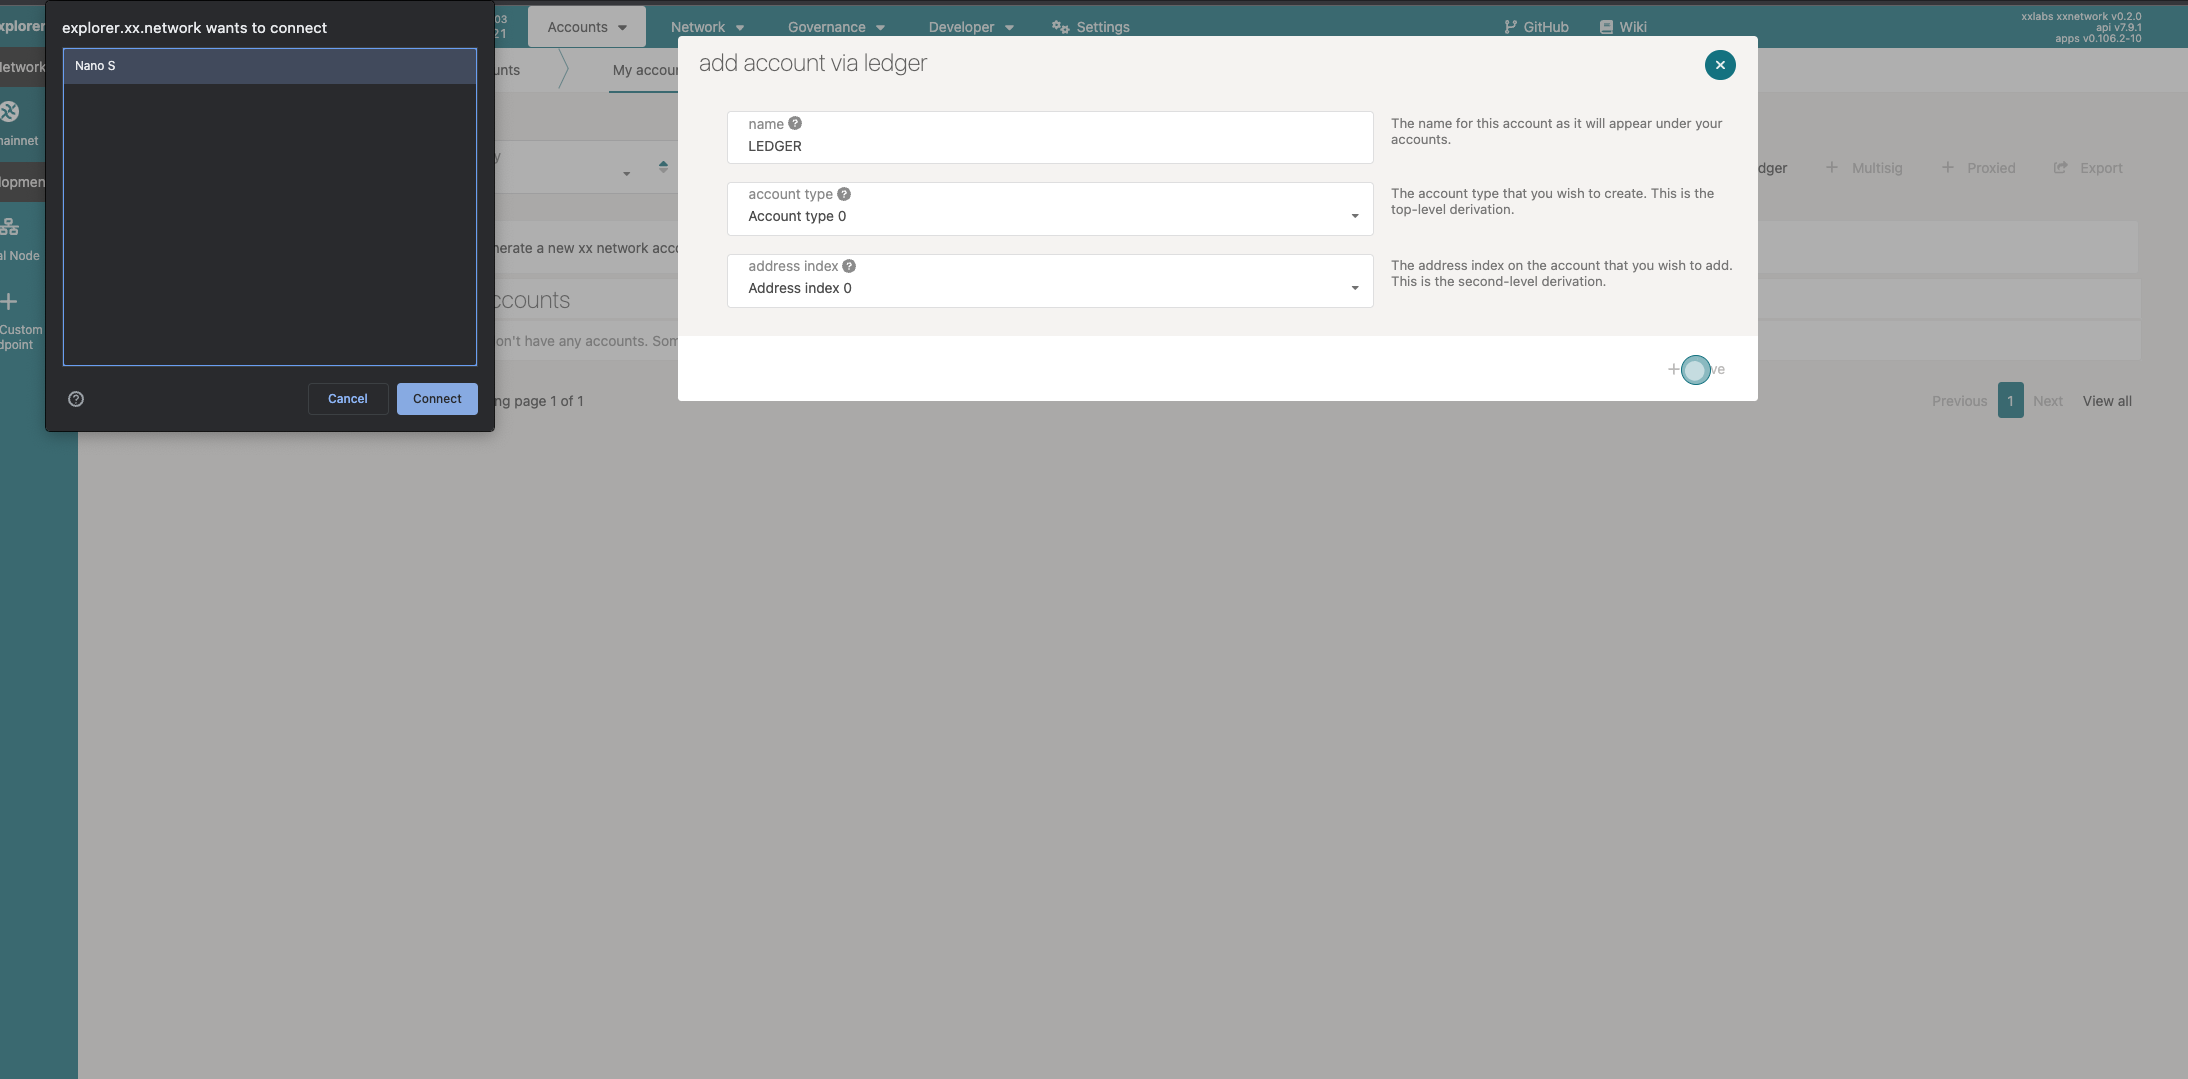
 When you click Save you may be prompted by your web browser to allow
the Ledger device to connect. Select the device and click Connect.
 You should now see your Ledger account in the xx wallet window with the
wallet address below the name. It is highly recommended that you verify
this address before sending or receiving any xx coins with this wallet.
Verify Account Address
After adding your account to the xx wallet, you should always verify that the address matches the address shown on your Ledger device.
To do this, simply click on the three dots next to the send button and
then select Show address on hardware device.
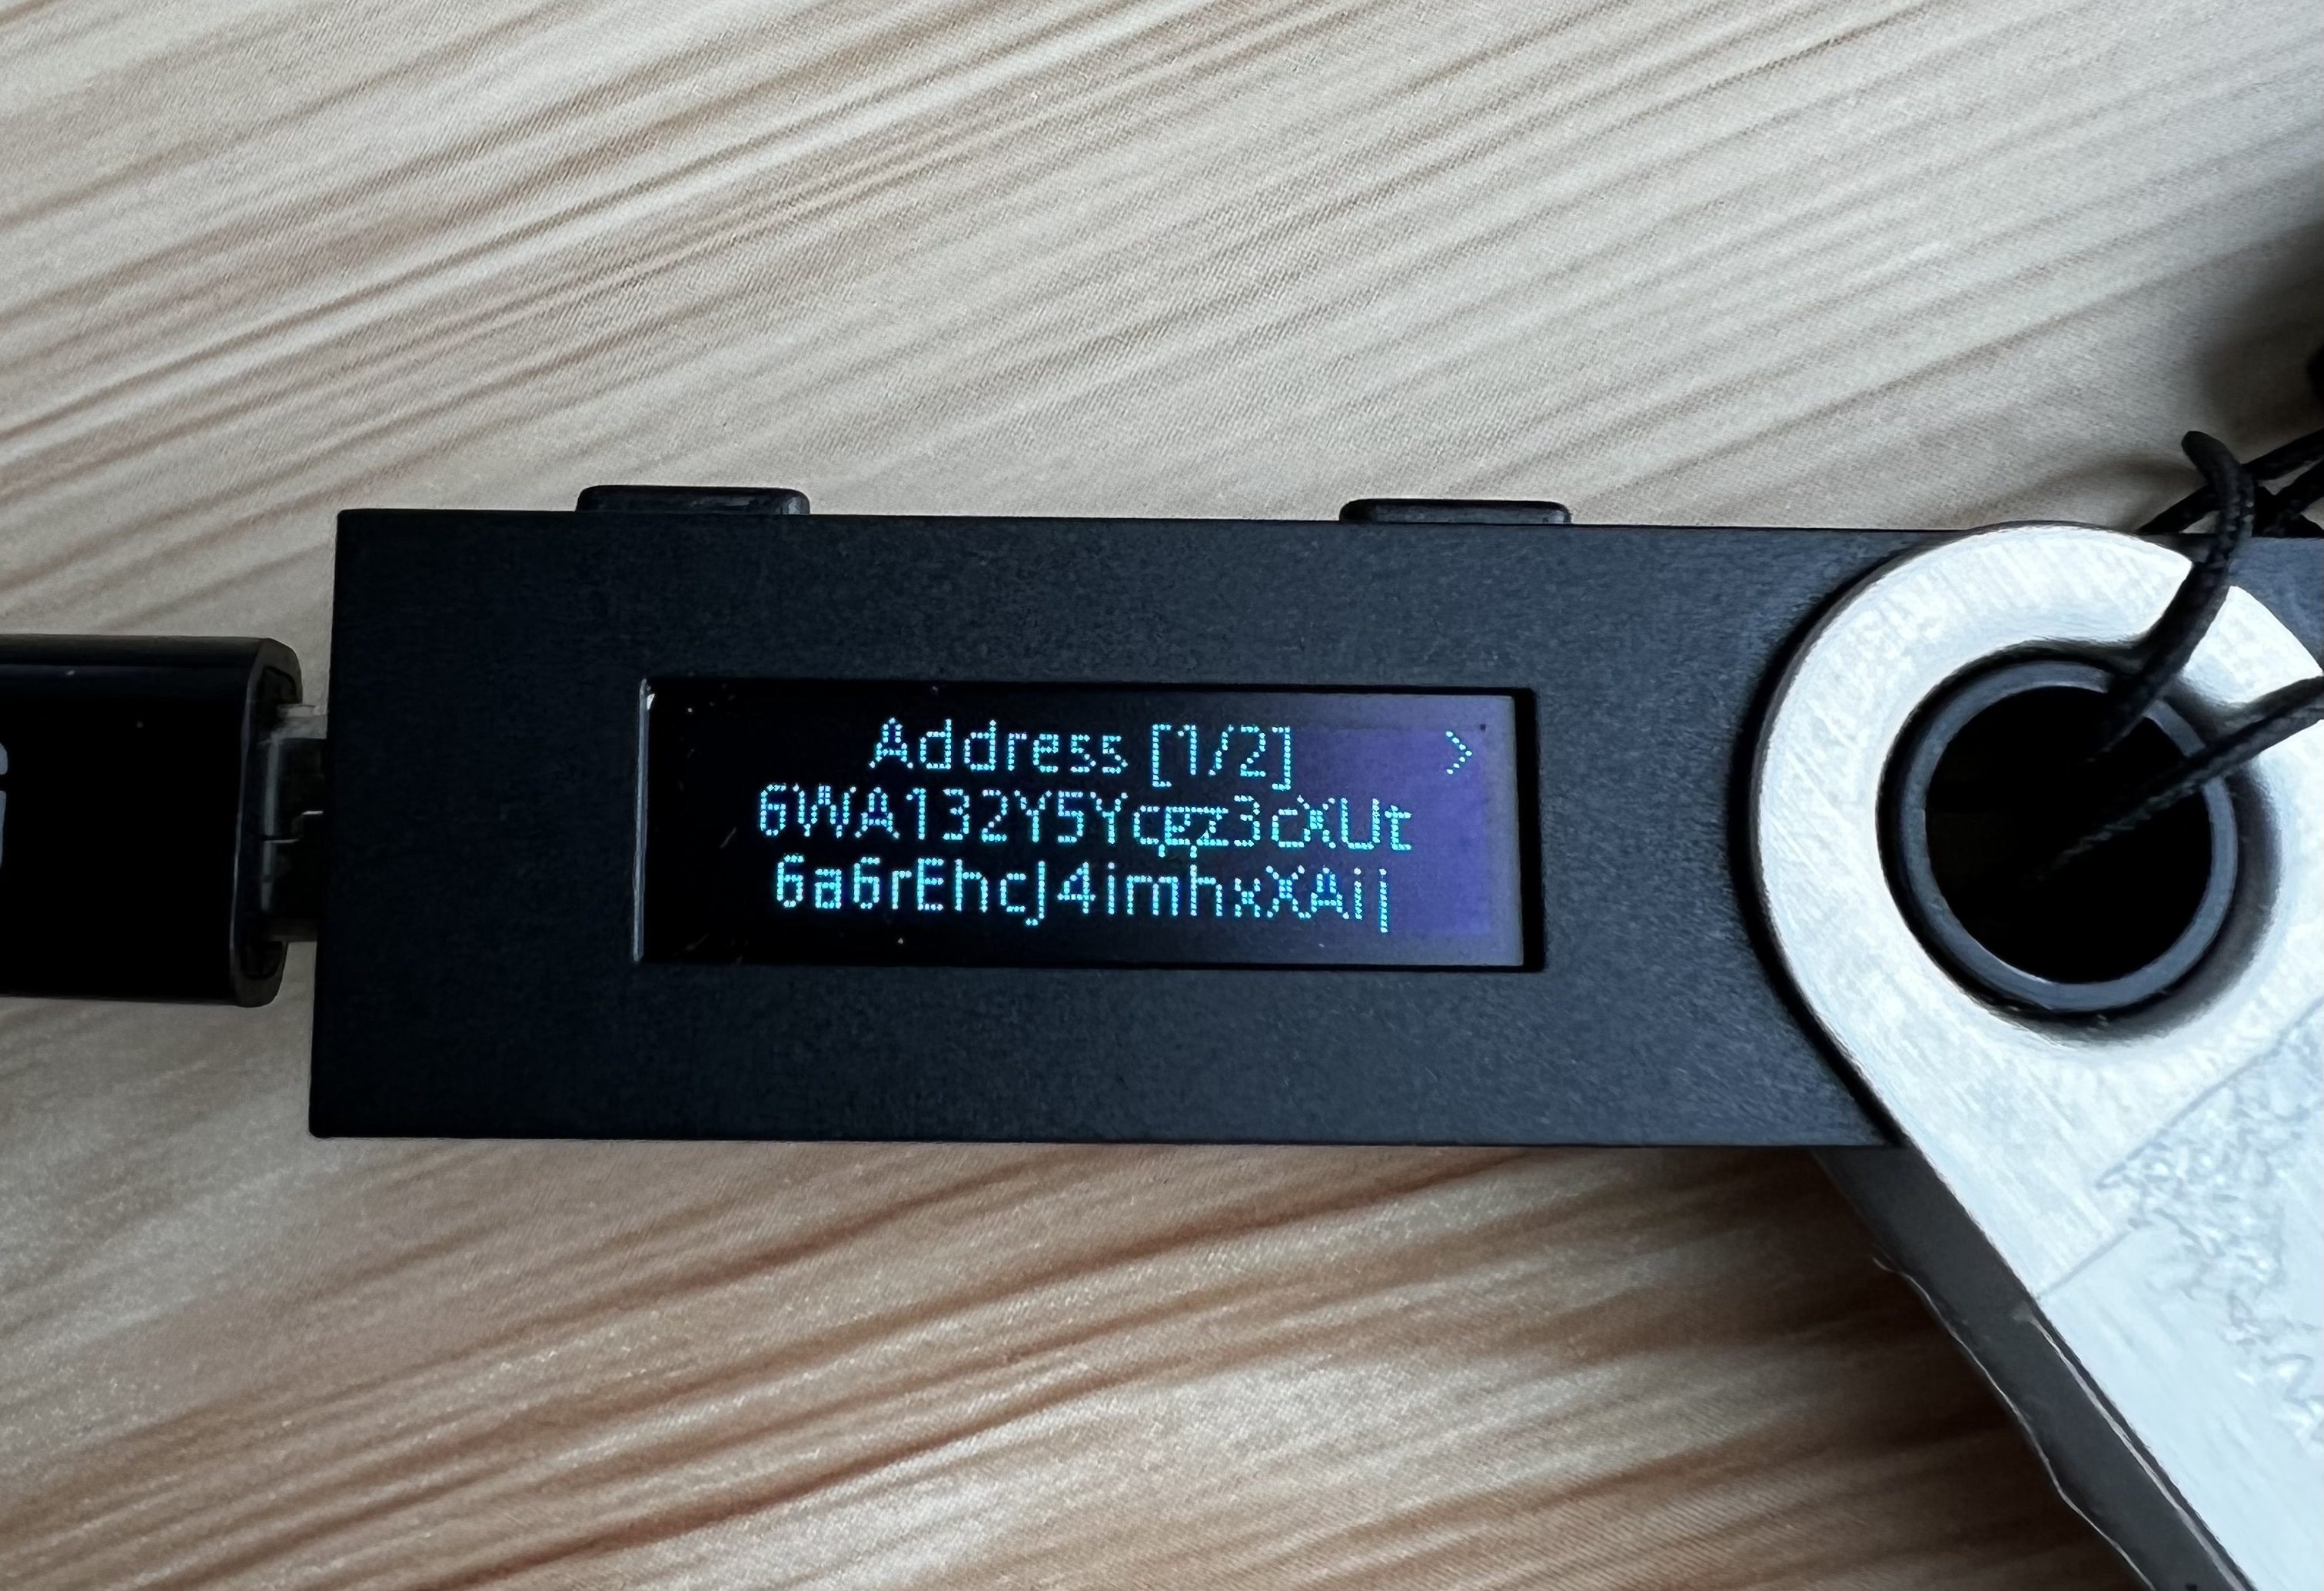
 If your Ledger device is connected, unlocked, and you’re in the xx
network Ledger app, you should now see your wallet address show up on
the Ledger device.
Use the buttons to scroll through the entire address and if it matches
the wallet address you see on the xx wallet then you can go ahead and
click Approve on the Ledger and you’re all set to use the wallet.
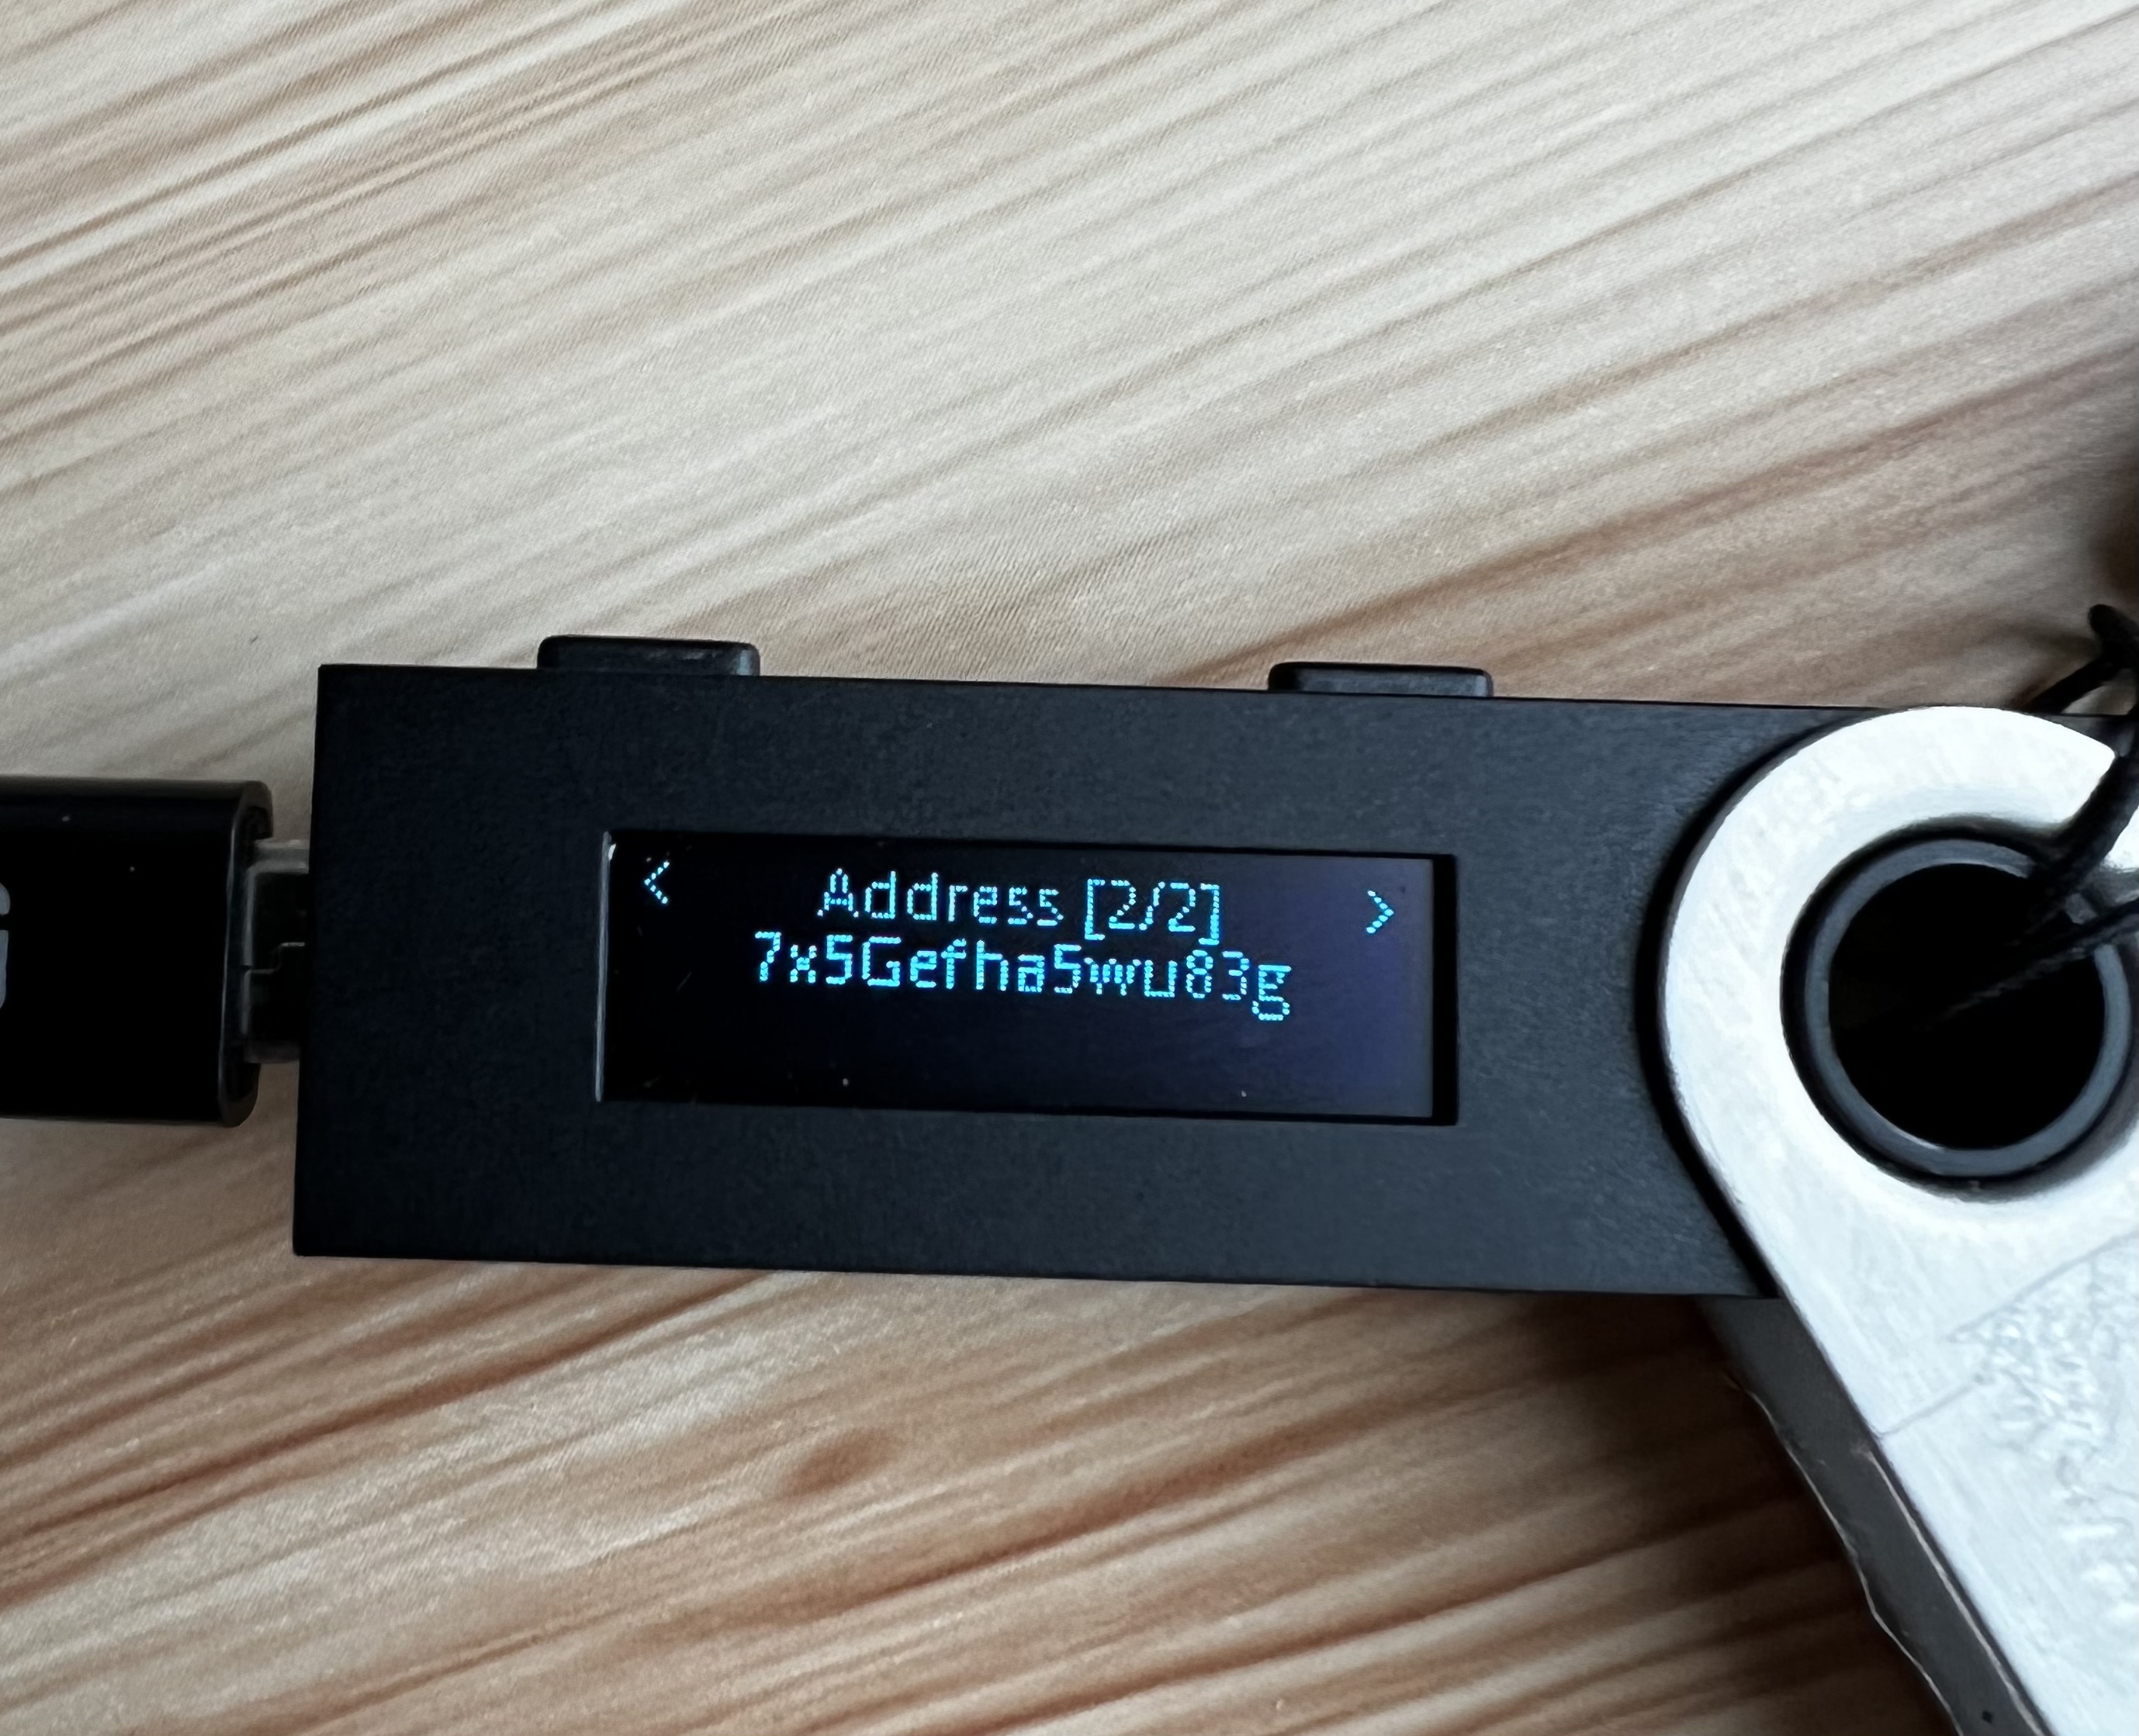
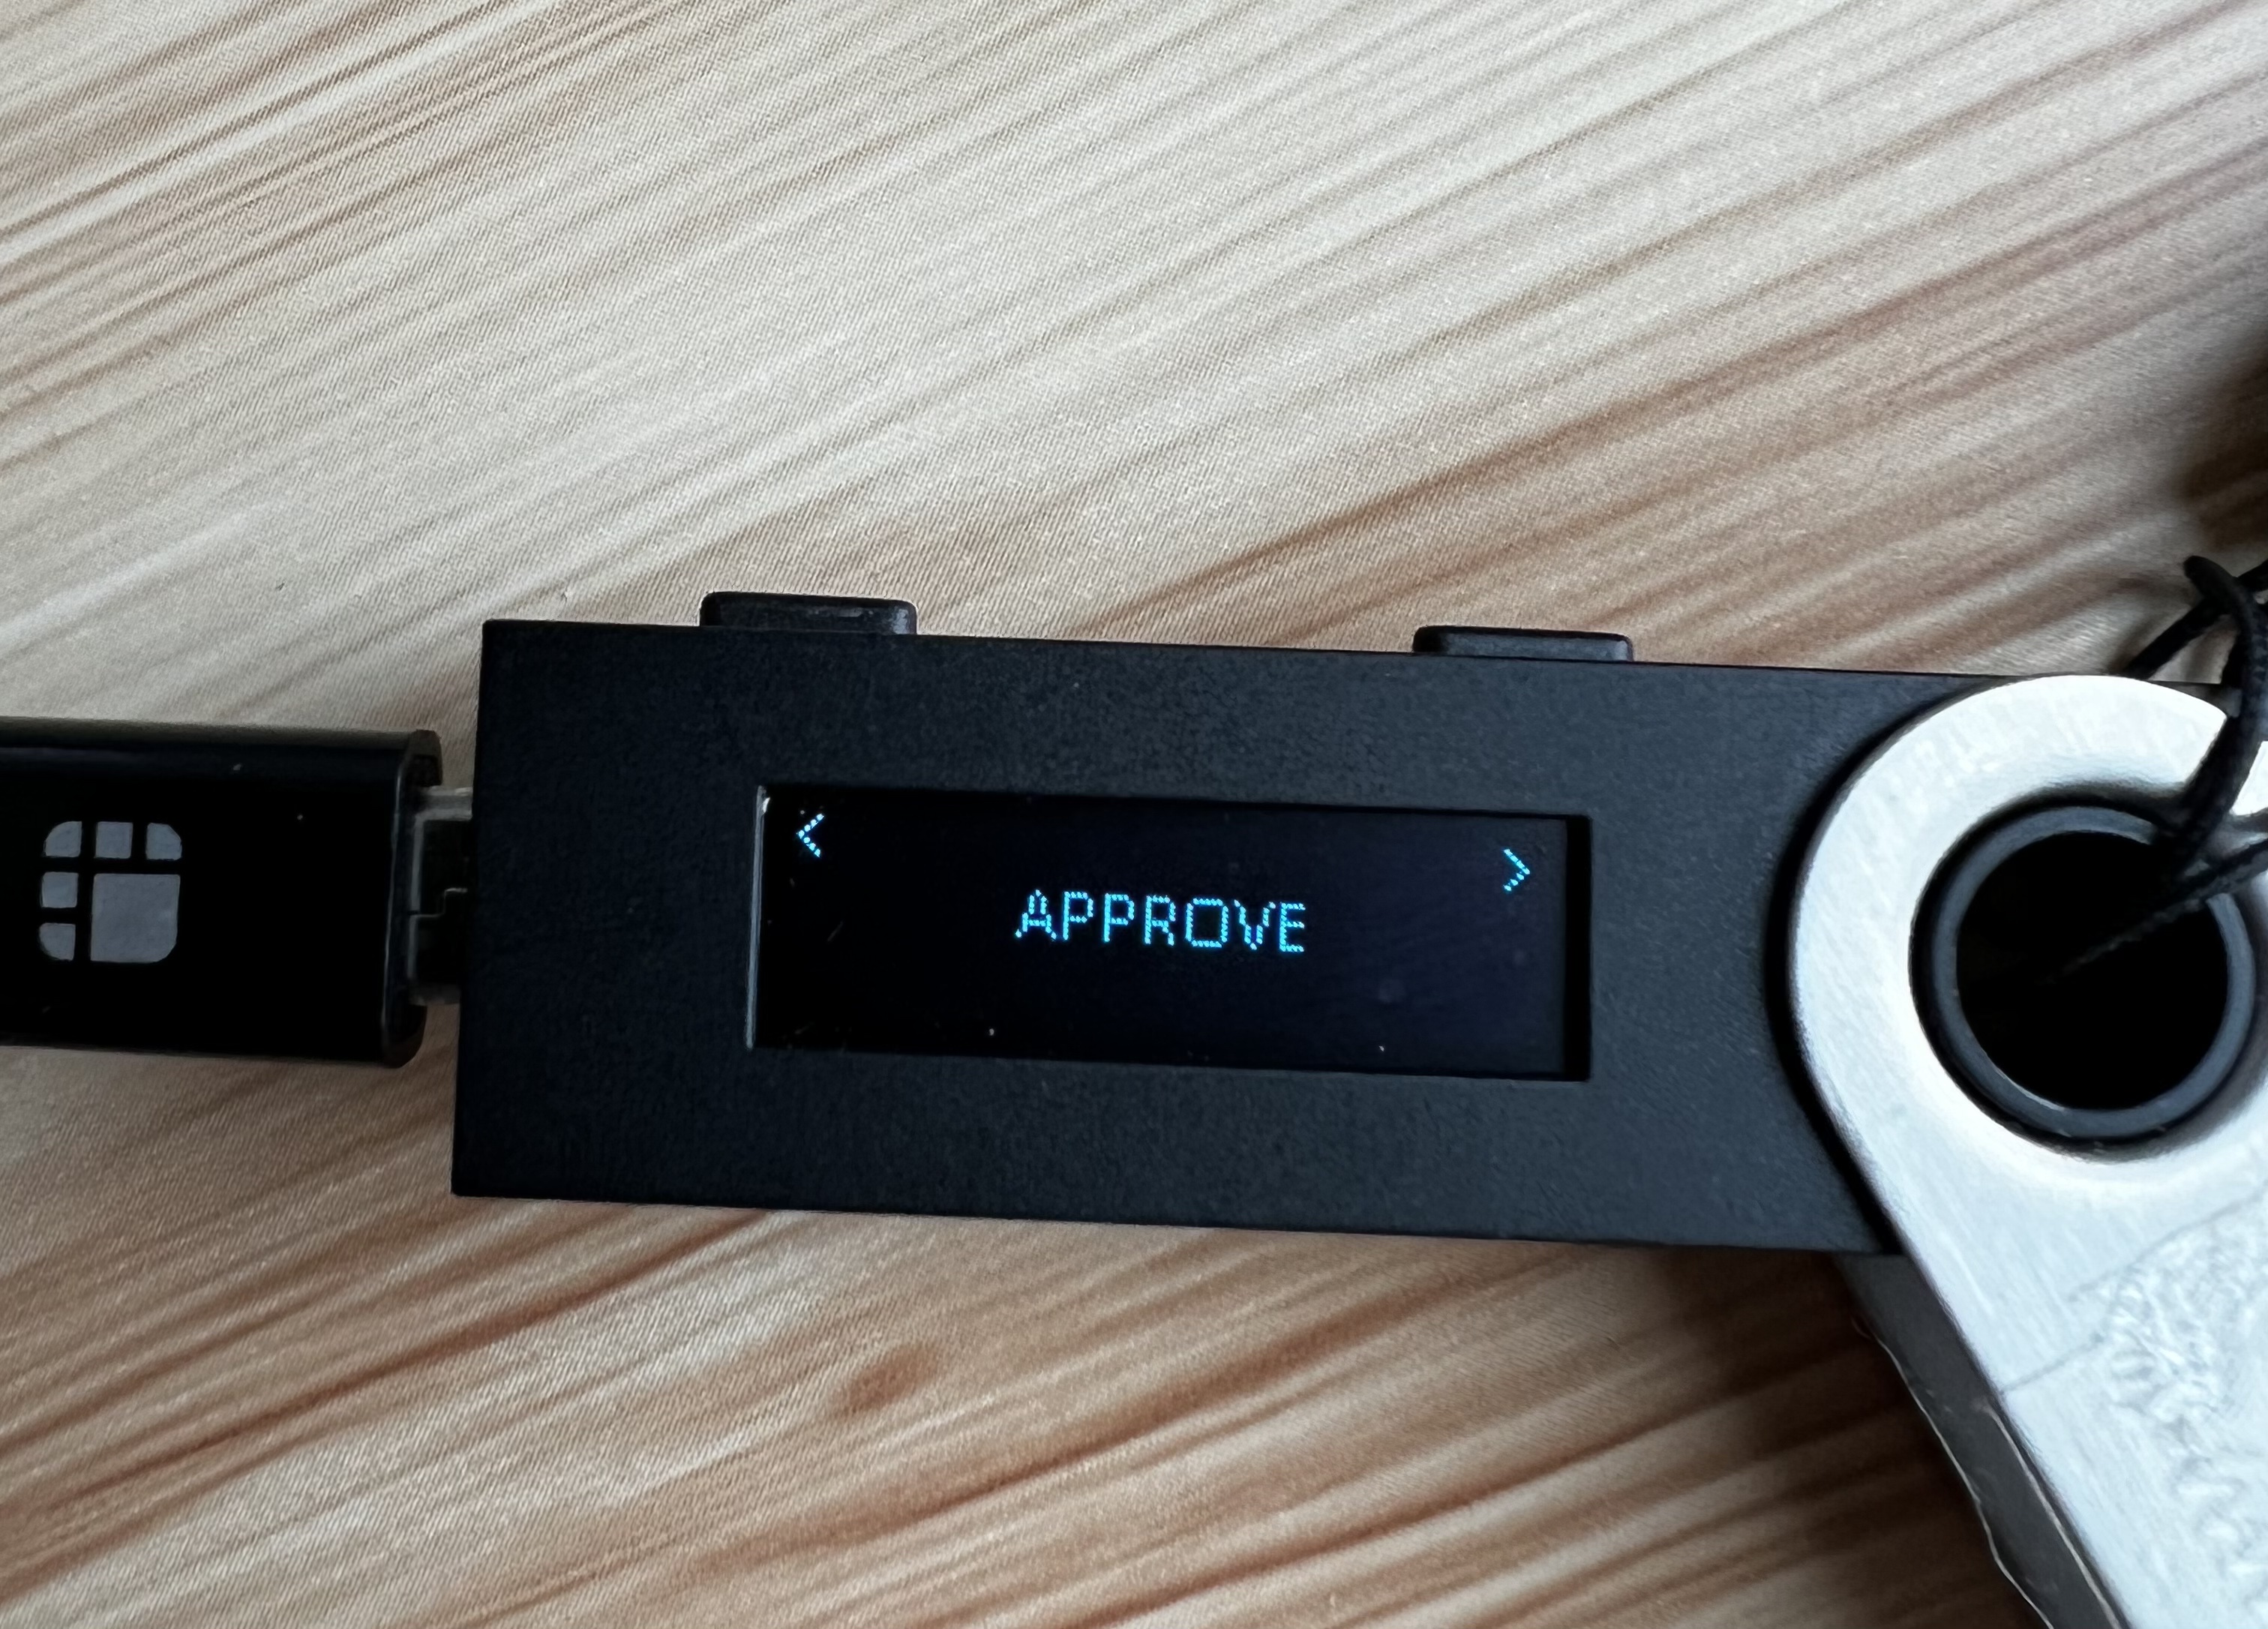
If the wallet address does not match, then make sure you followed the setup instructions correctly and if you’re still having trouble email [/cdn-cgi/l/email-protection [email protected]]
Review and Approve a Transaction
In order to use the Ledger device to sign a transaction, make sure it is plugged into your computer and that you’ve opened the xx network Ledger app on your Ledger device.
Create your transaction as you would with a non-Ledger wallet and click on the Sign and Submit button (this may be labeled something else depending on the type of transaction you’re executing).
In this example we’re showing a transaction that sends xx coins.
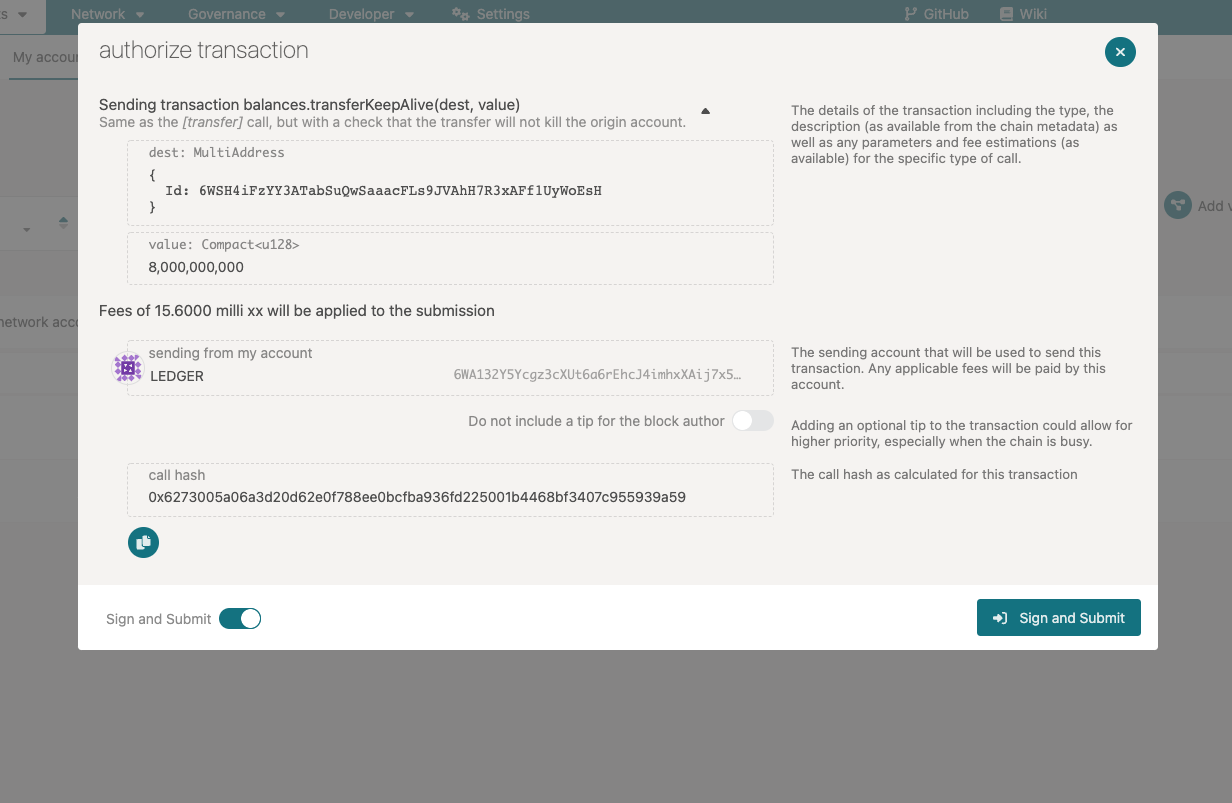 The transaction should now show up on your Ledger device with all the
transaction details. Carefully review the transaction on your Ledger by
scrolling through it with the buttons and make sure it matches the
transaction you’re attempting to send.
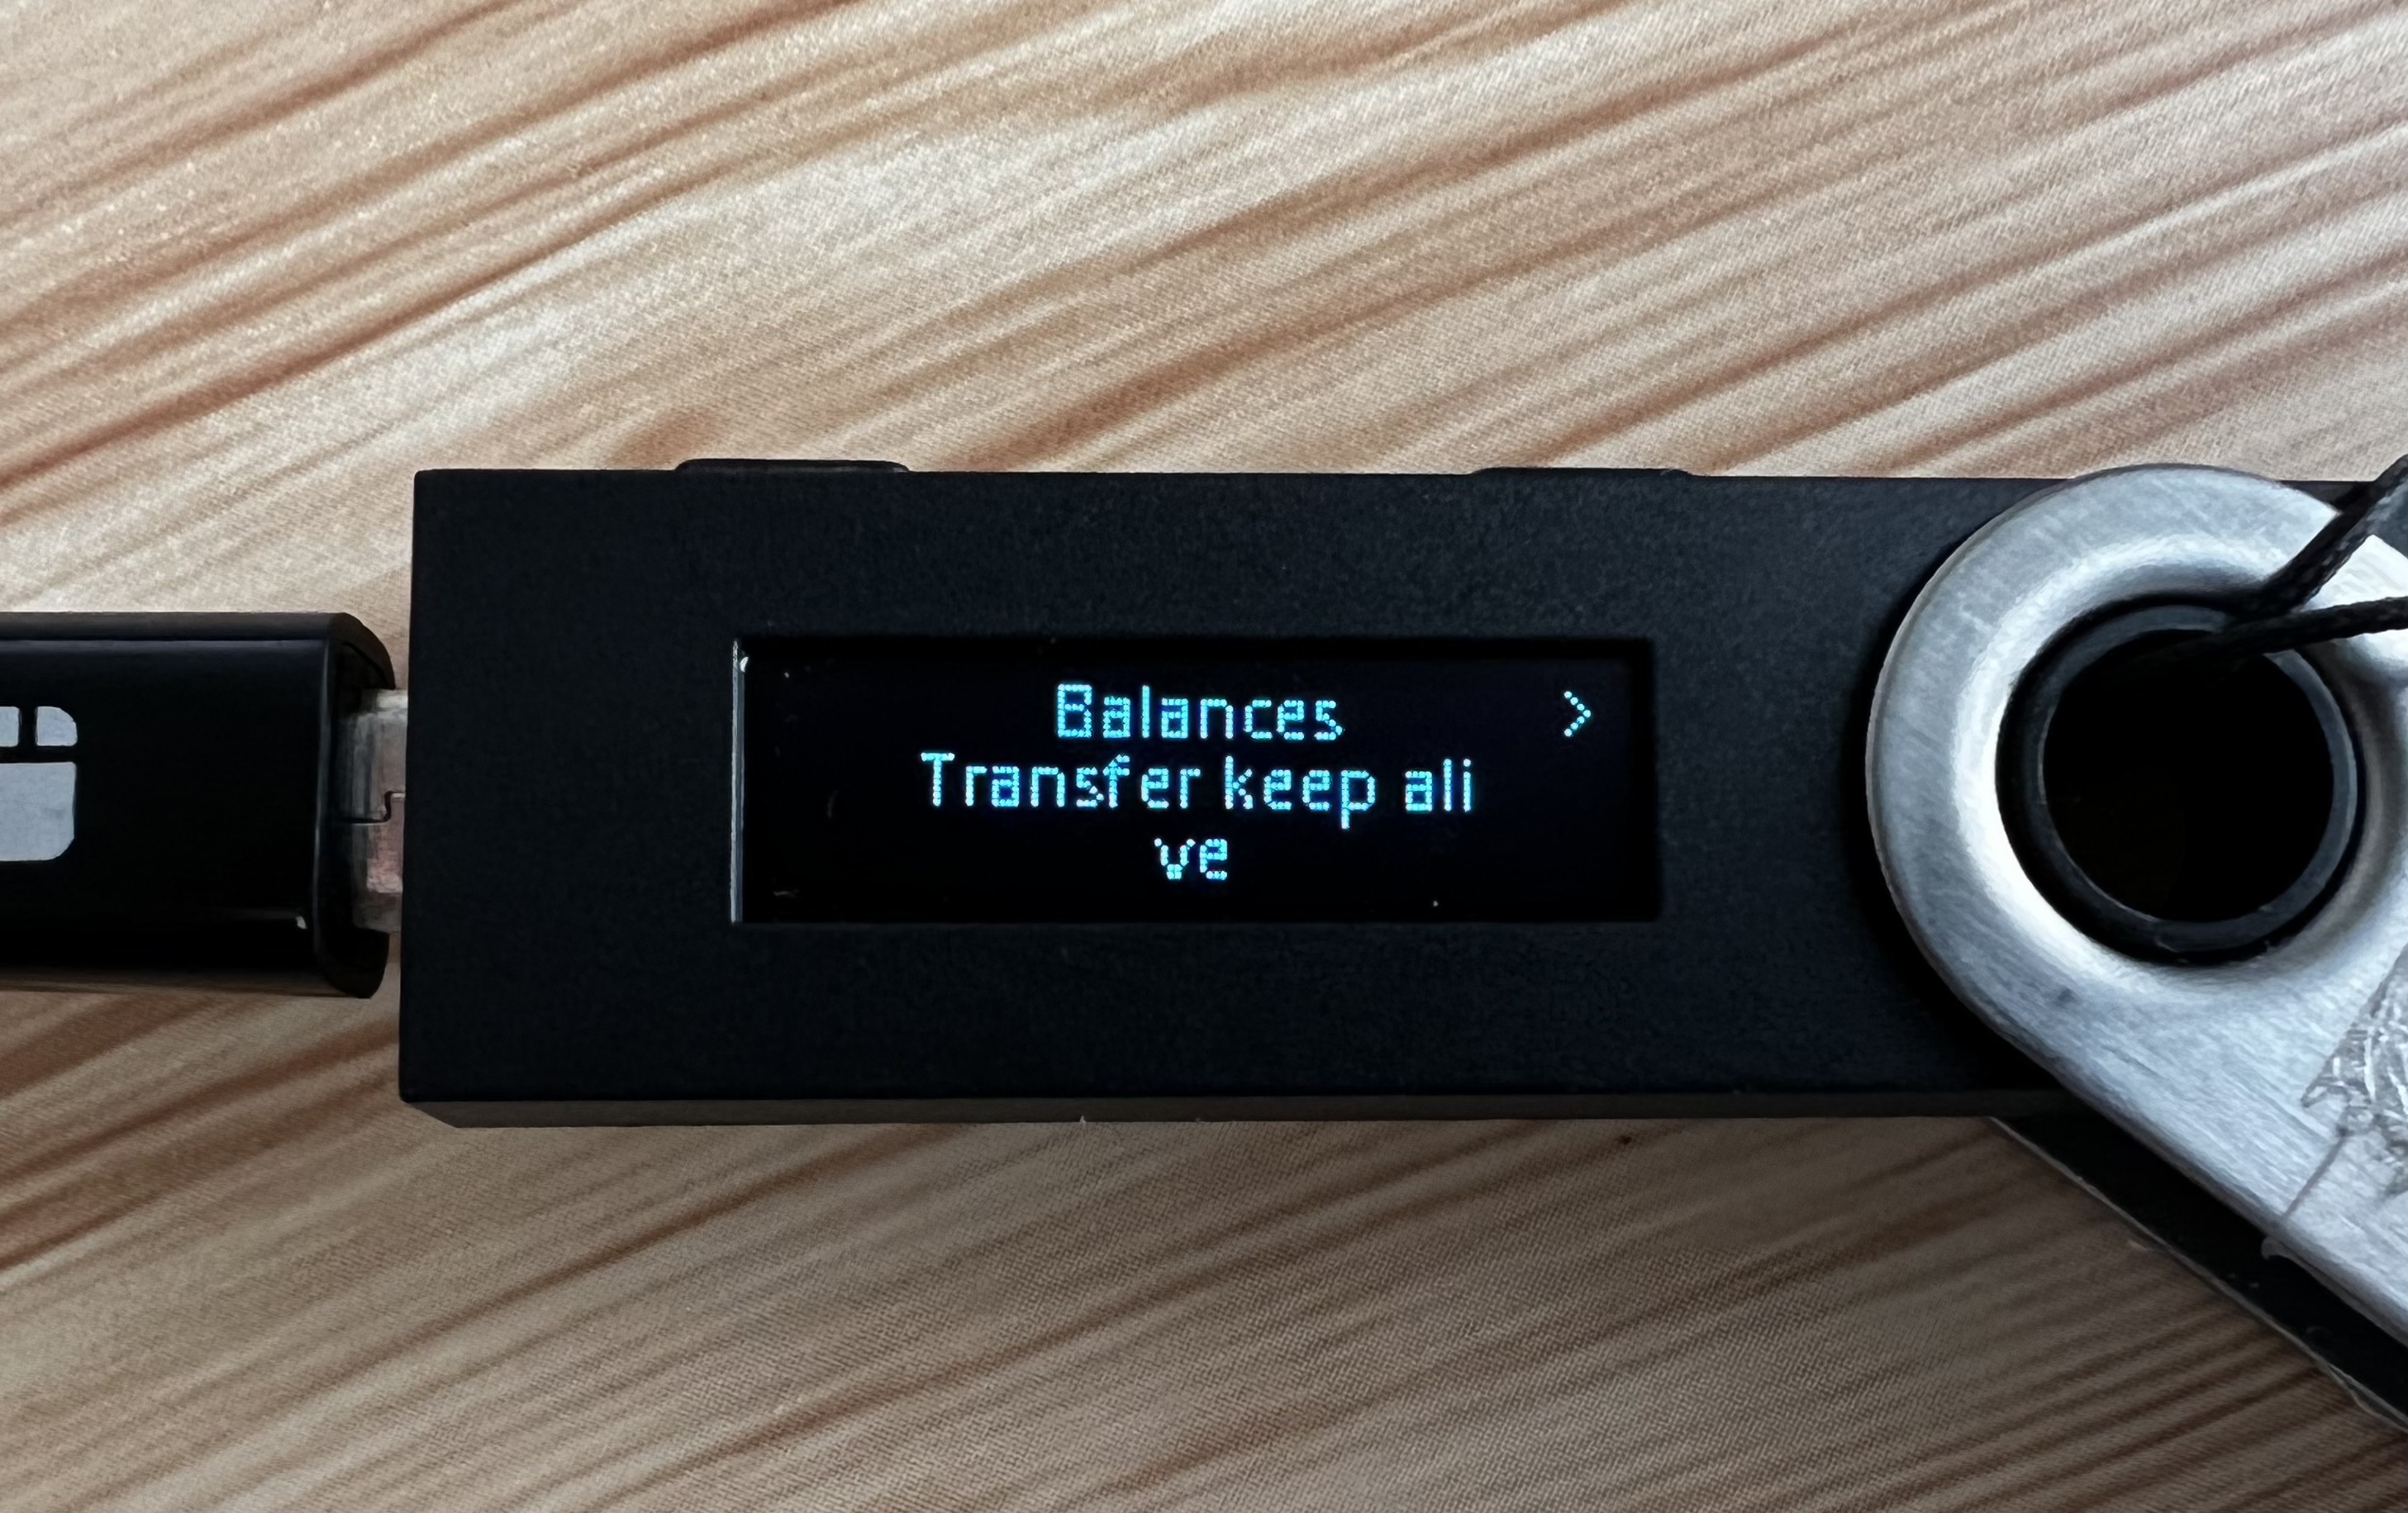
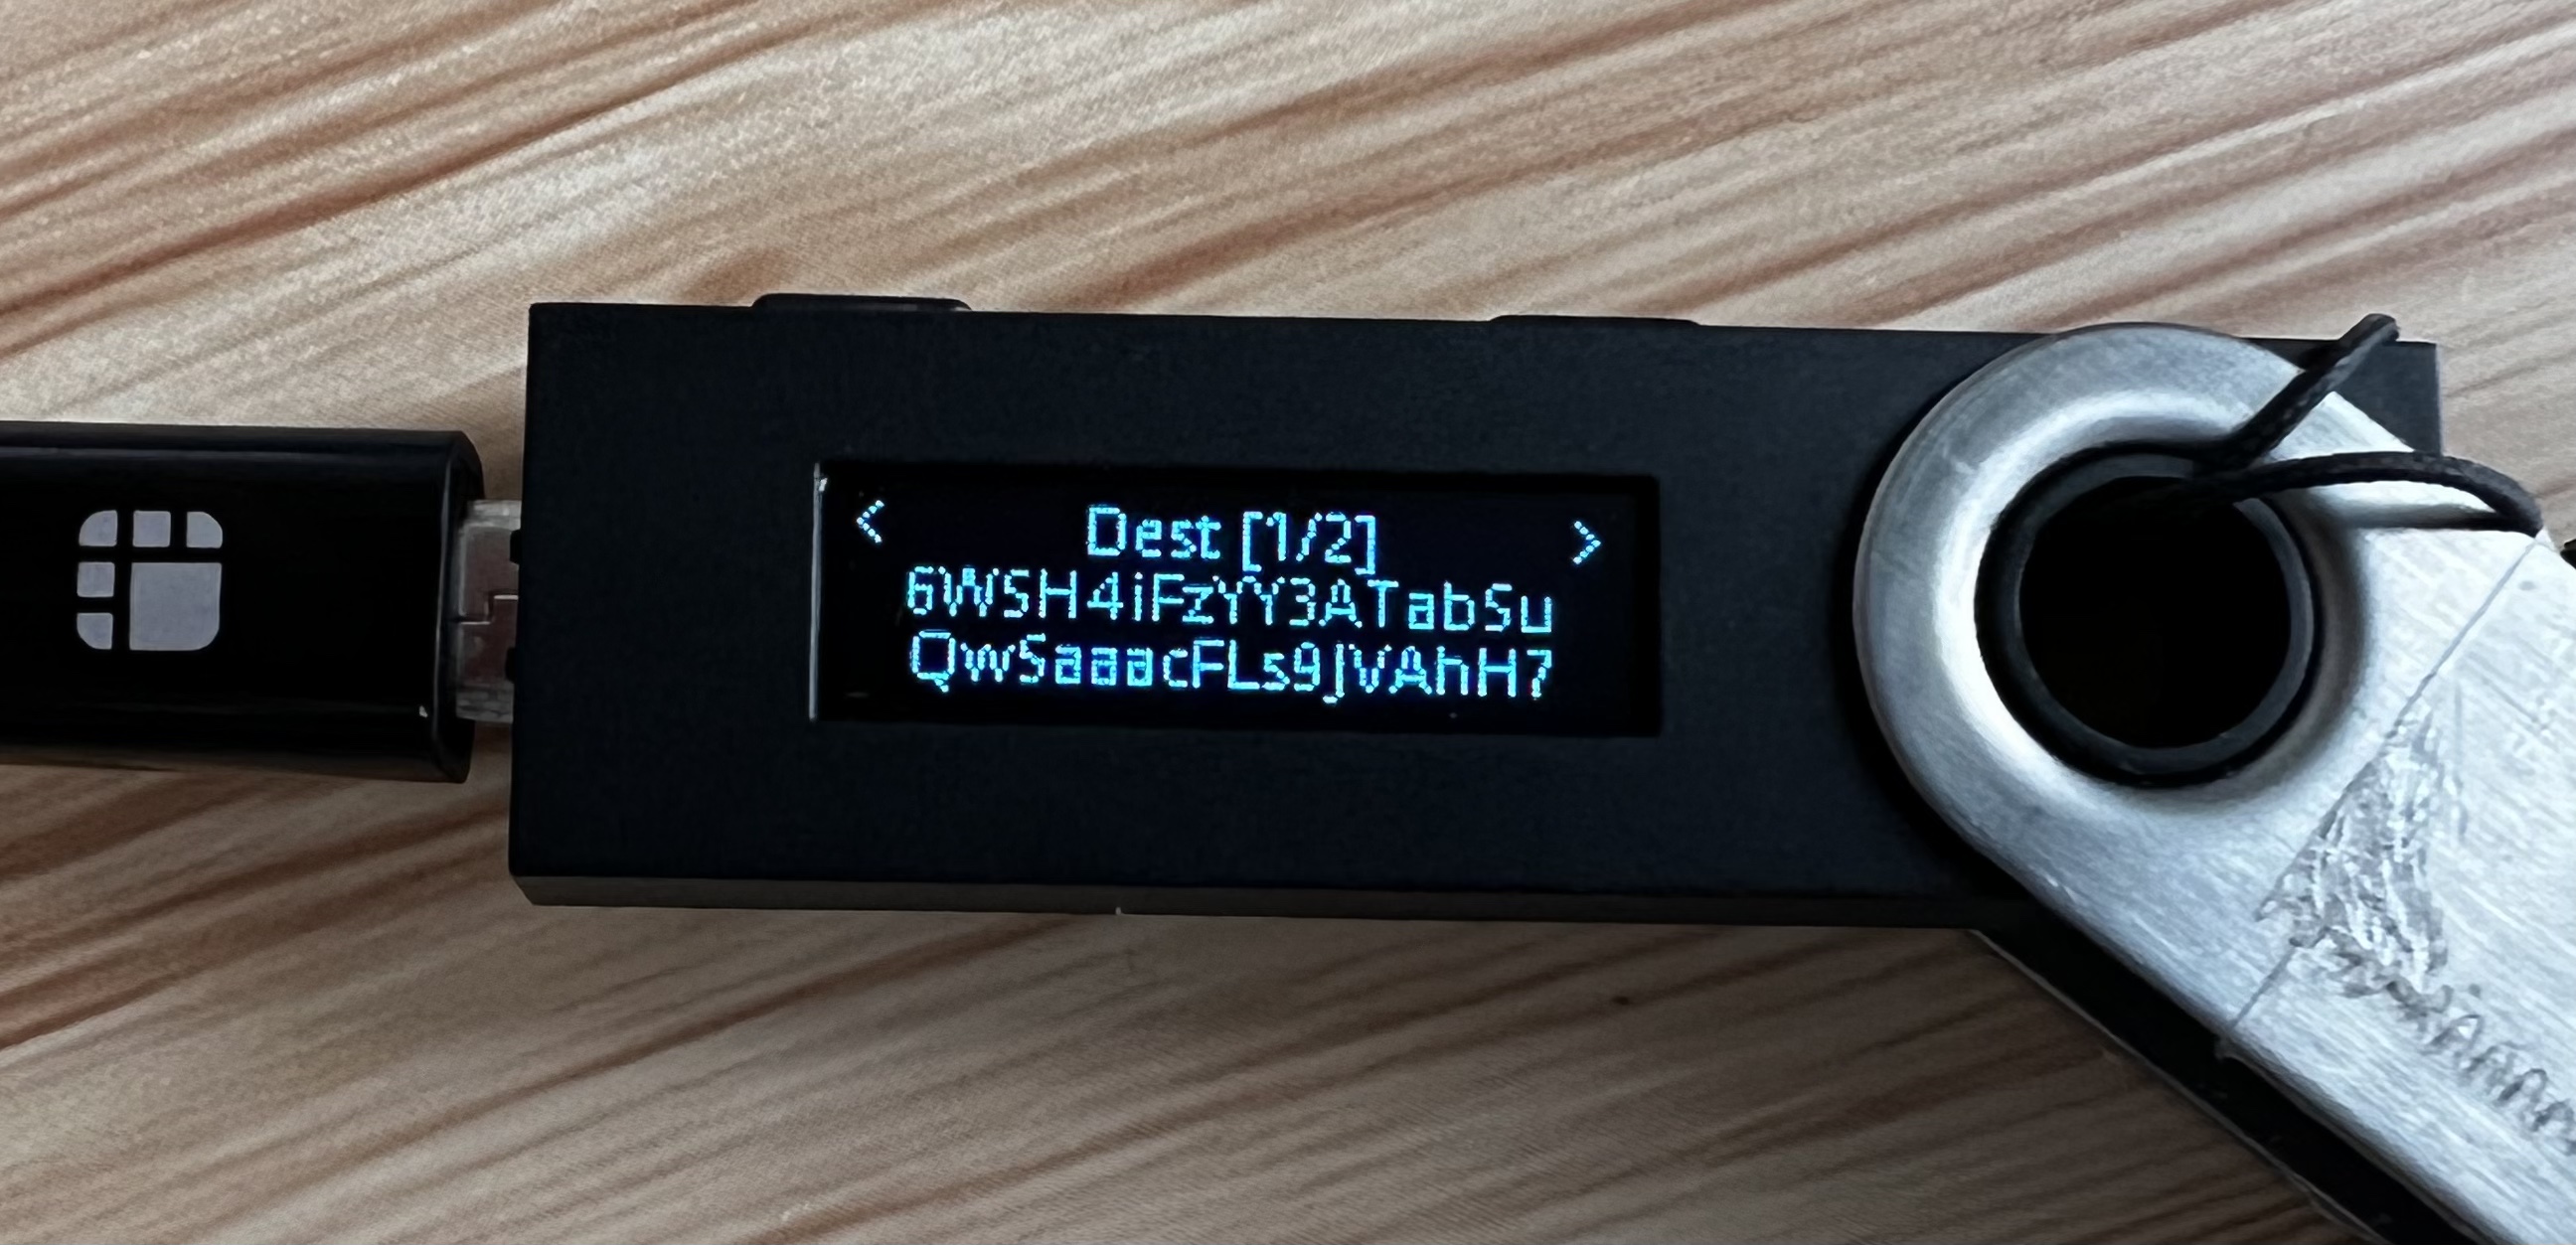
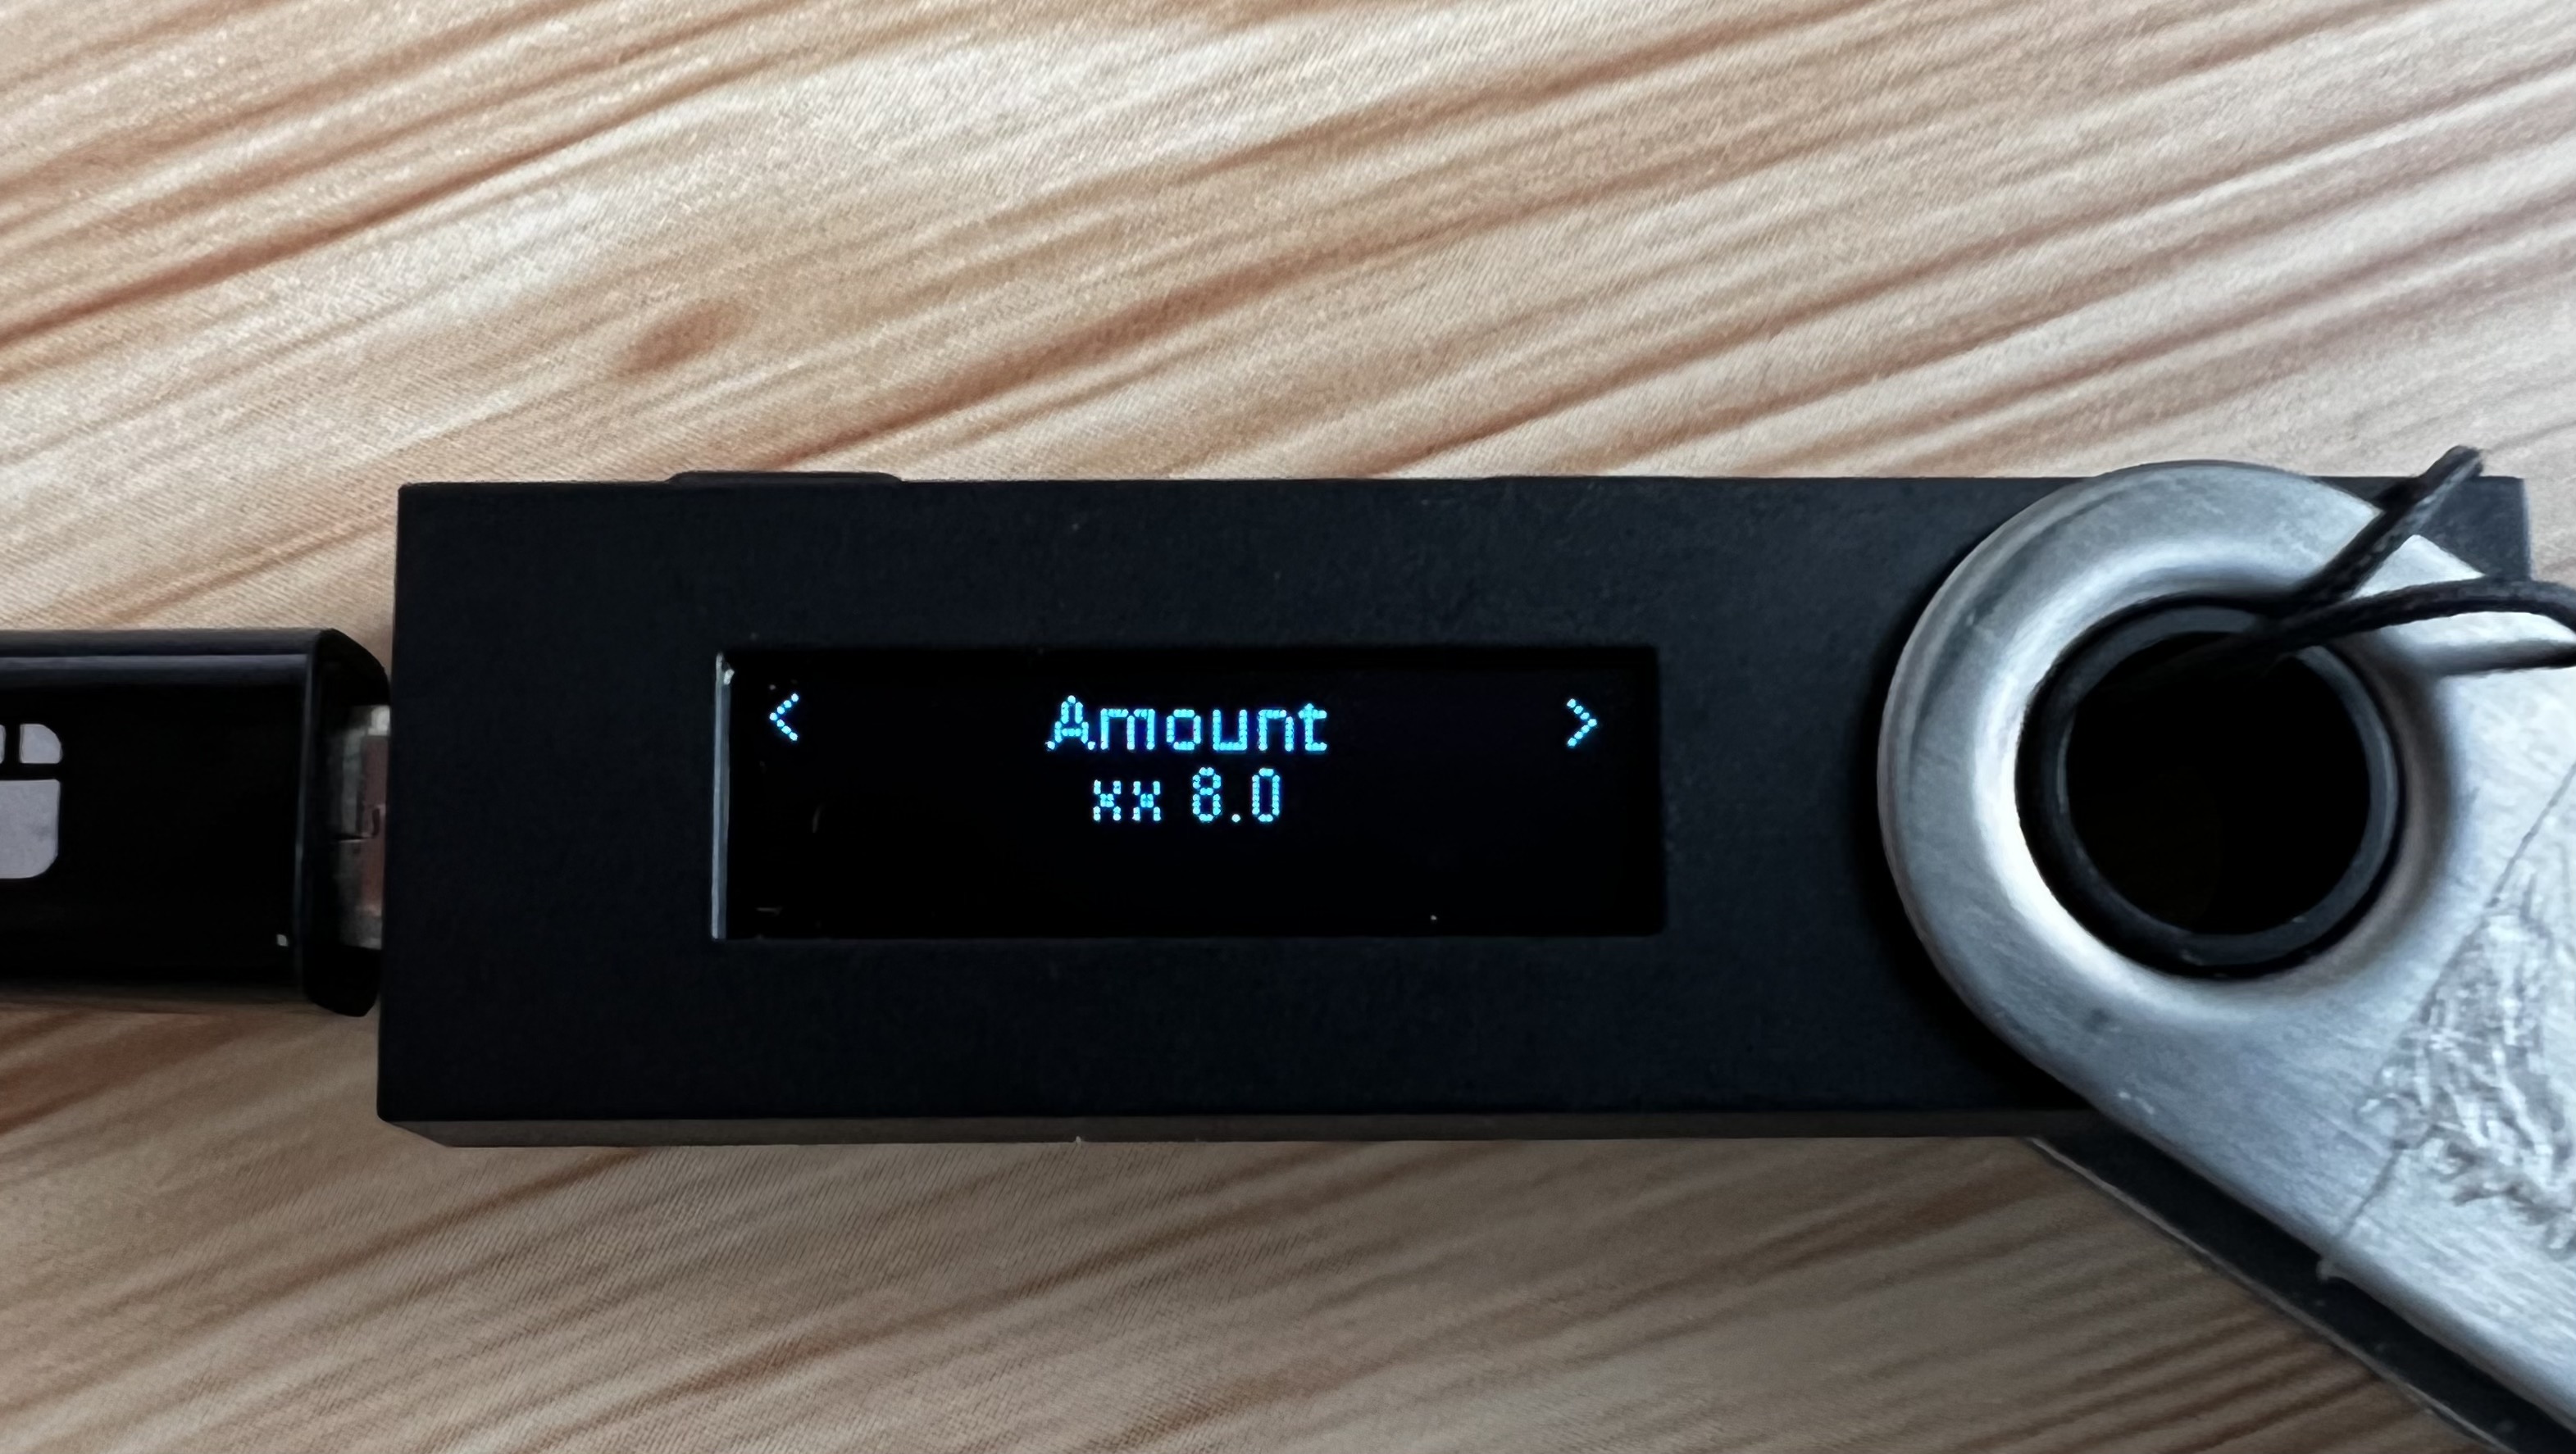
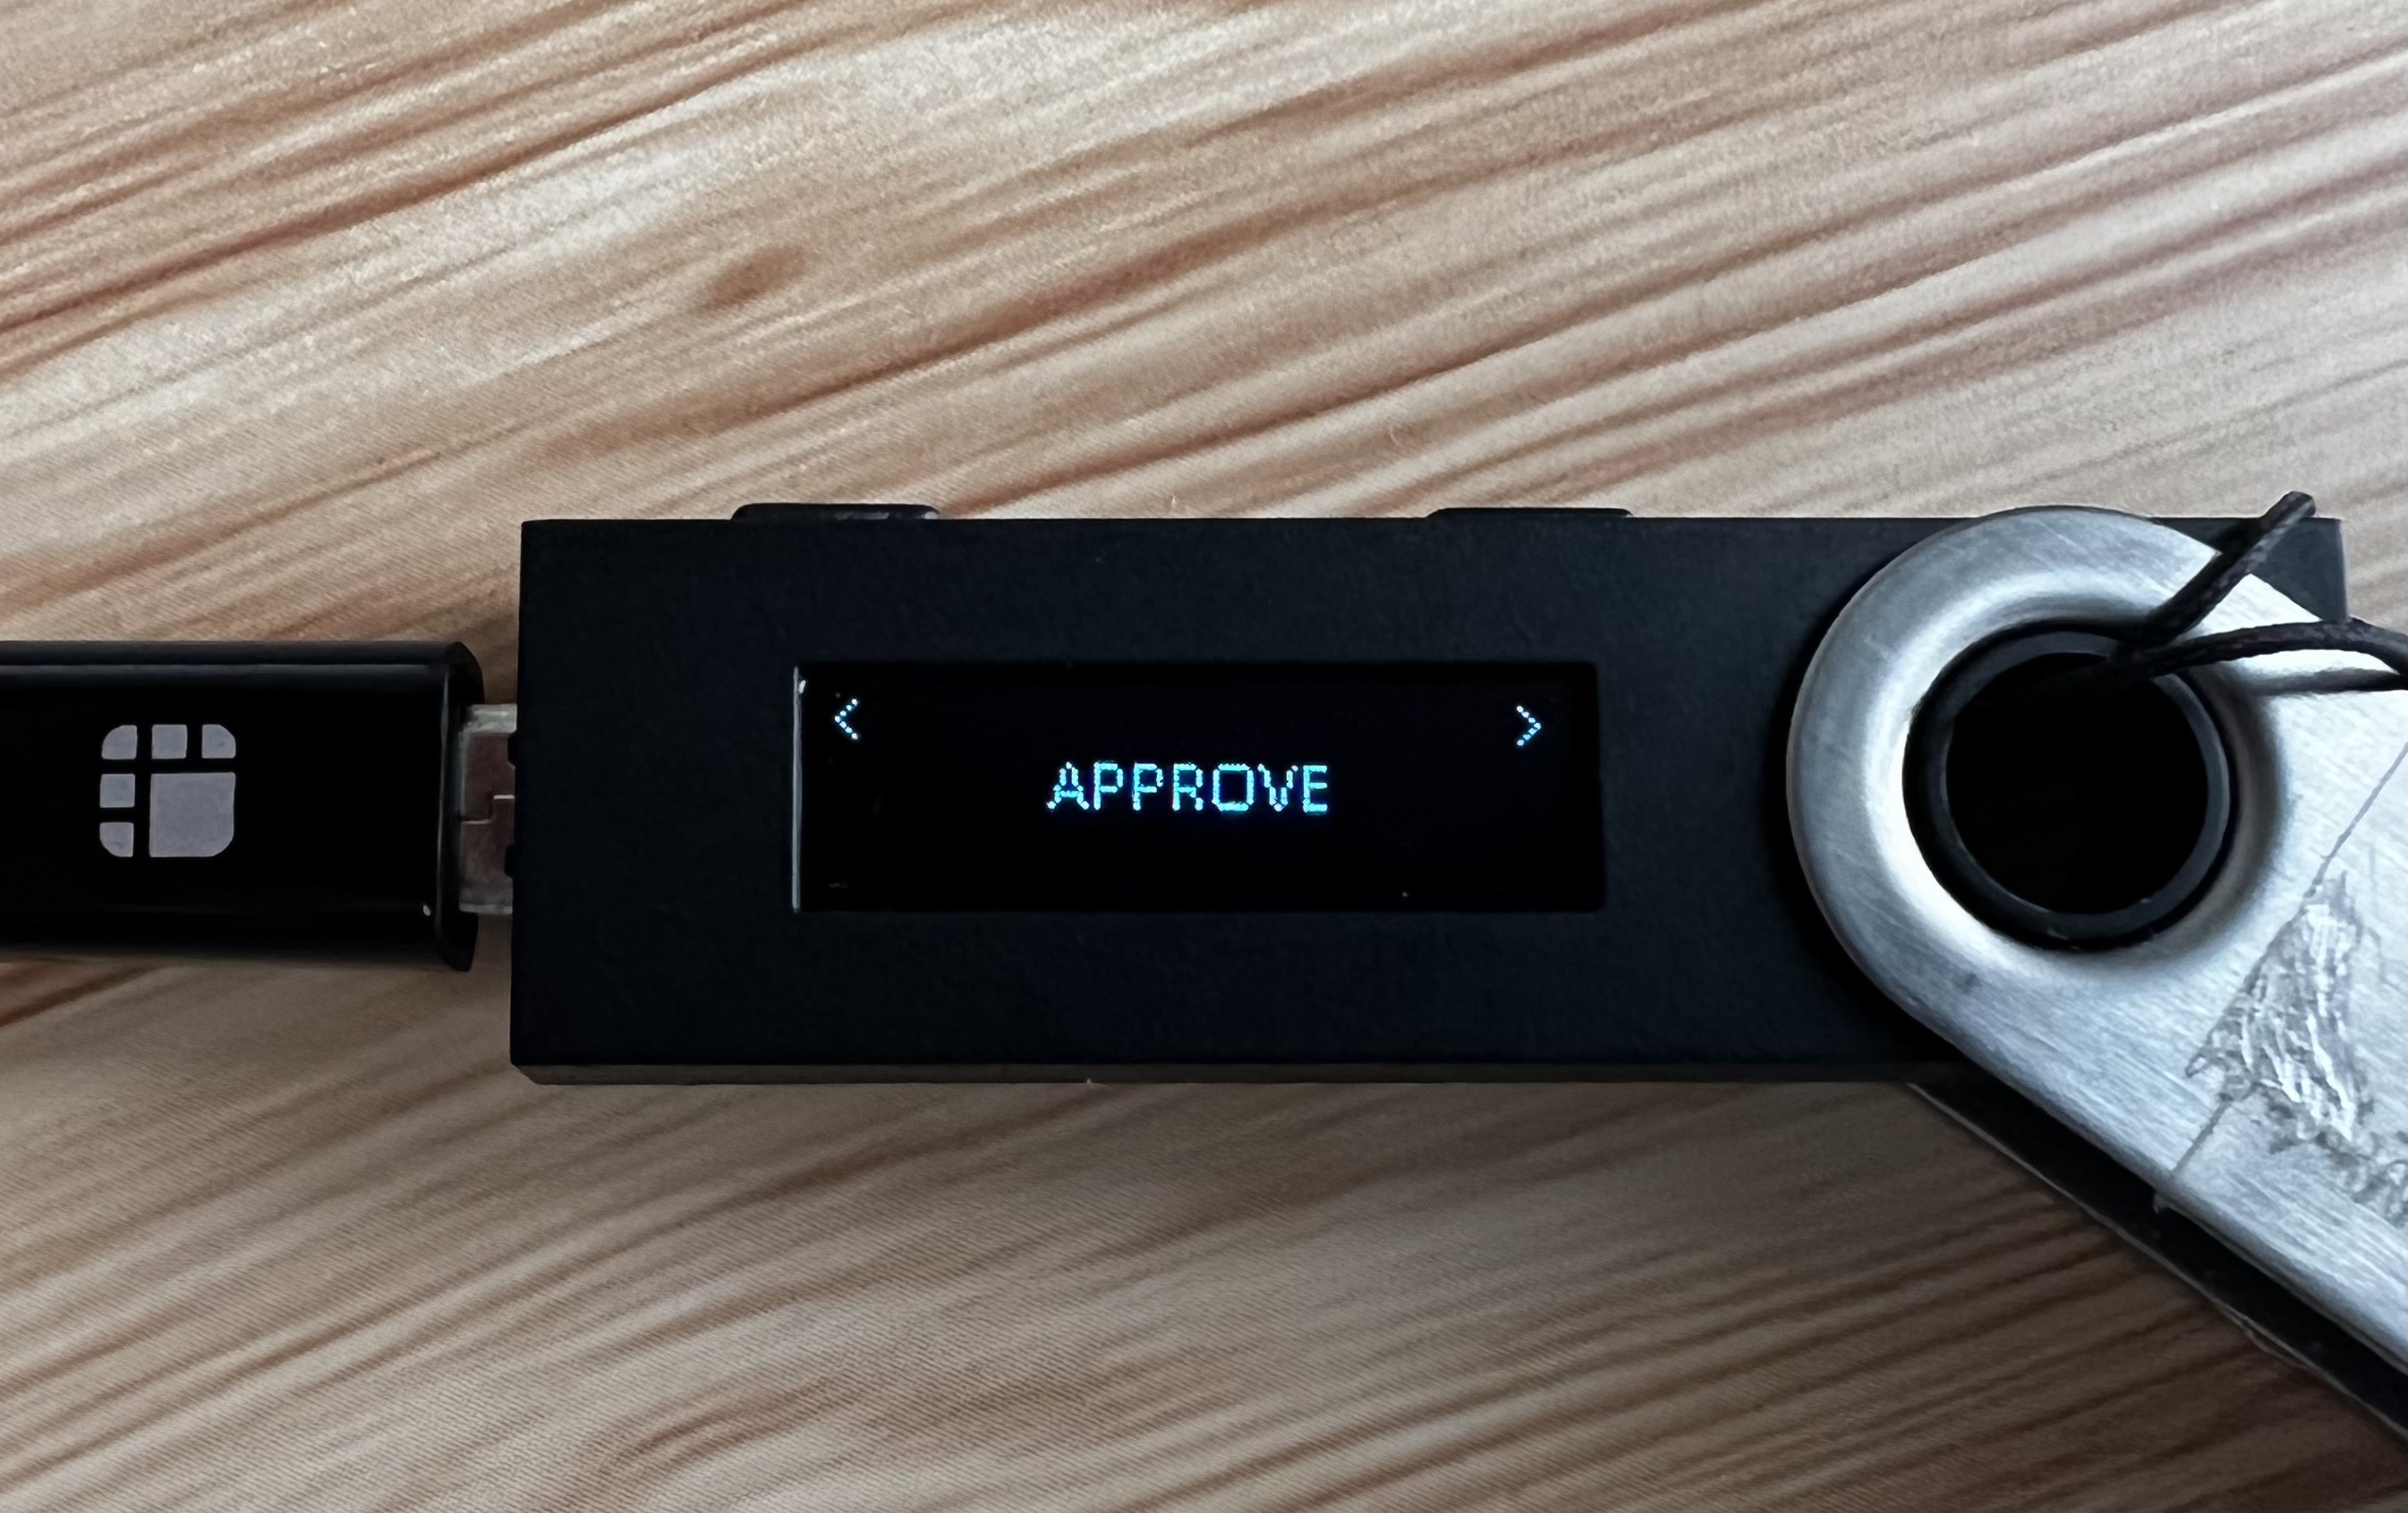
If it looks incorrect then click Reject on the Ledger and try the transaction again.
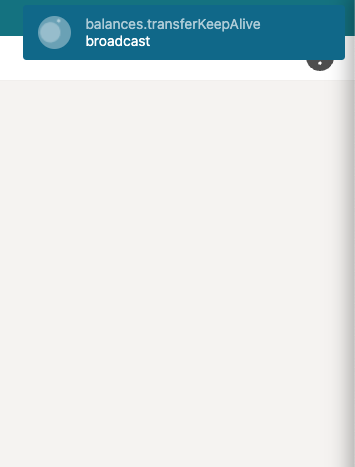
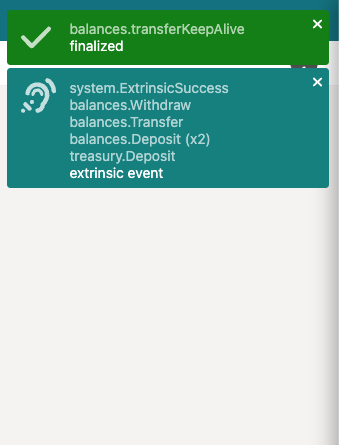
Otherwise click Approve and you should see a submission status icon at
the top right of the xx wallet. Assuming the transaction is valid, this
will turn green and your transaction has been successfully processed.
Possible Issues
If you run into any error using the xx wallet and the Ledger device, make sure the transaction you are trying to sign is supported by the xx network Ledger app version you are using (light or XL).
Also, make sure your Ledger device is connected, unlocked, and the xx network app is open, whenever you are trying to use the Ledger wallet in the xx wallet to send transactions.
Support
If you are having issues using the xx network Ledger app, you can join the xx network Discord or Telegram communities and ask for support.