Claiming Tokens
Check out the Genesis Block Spreadsheet.
-
Before starting, this guide will utilize MetaMask. It is suggested that you install the browser extension for MetaMask and set it up with your Ethereum wallet from the sale.
-
You will need to have generated an account and added the account to the Web Wallet. You can learn more about Using the Wallet Generator and Adding Accounts to the Web Wallet.
-
In the navigation menu of the Web Wallet, go to Accounts and in the drop-down menu, click on Claim Tokens.

-
The claim your xx tokens page will open.
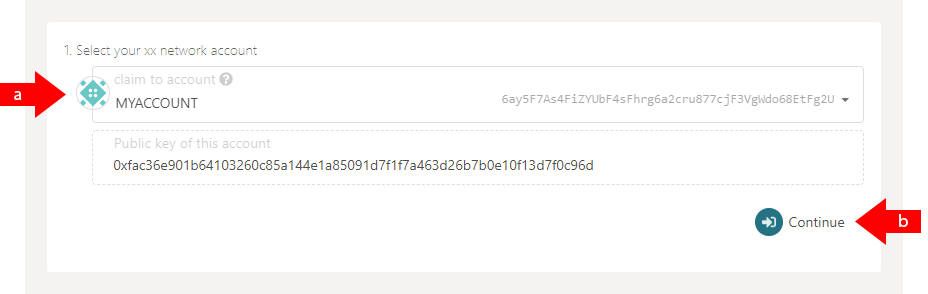 a. Select the correct account from the drop-down menu.
b. Press the Continue button to proceed to the next step.
-
Next, in the Choose how to sign box, select the Use MetaMask button.

-
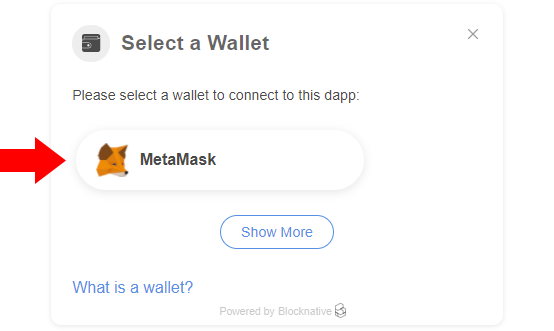
Next, a pop-up will appear asking you to select a wallet. Click on the MetaMask button.
-
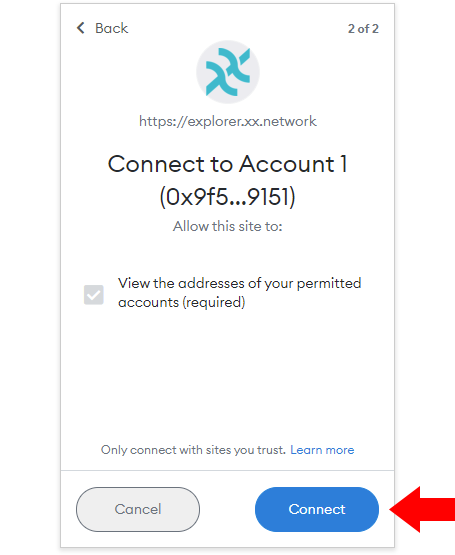
A pop-up in a separate window will appear asking you to connect
https://wallet.xx.networkwith MetaMask. Make sure you have the correct wallet selected and then press the Next button to continue.
-
Finally, click the Connect button to connect your account.
-
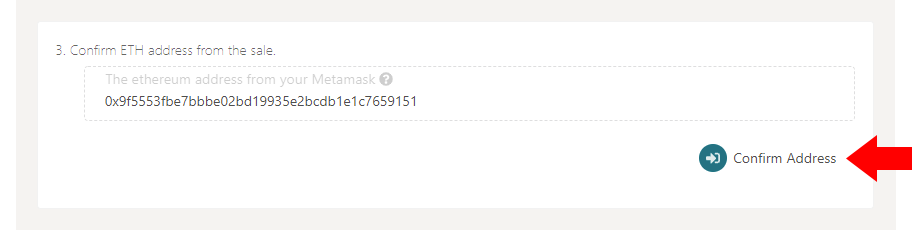
Once connected, the window should close and your Ethereum address will be filled in inside the third box labeled Confirm ETH address from the sale. Press the Confirm Address button to confirm the address and claim your token.
-
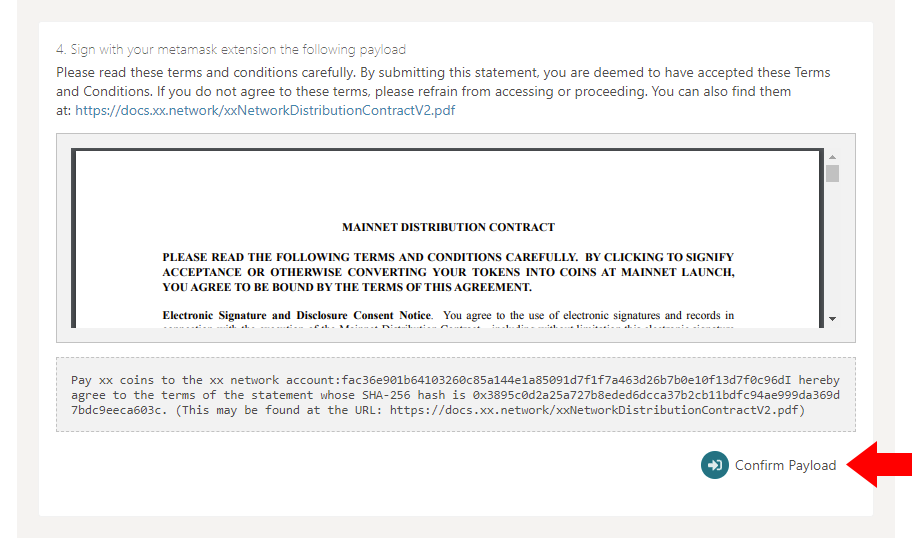
A fourth box labeled Sign with your metamask extension the following payload will contain an agreement that you must read through and agree to. Once you have done so, click the Confirm Payload button.
tipRead the agreement in full. You can download a PDF of the agreement using the link provided.
-
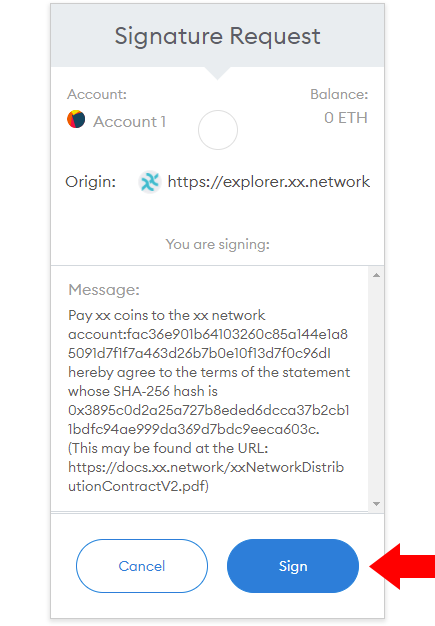
A MetaMask pop-up window will appear asking you to sign the request. Verify the details are correct and click the "Sign" button.
-
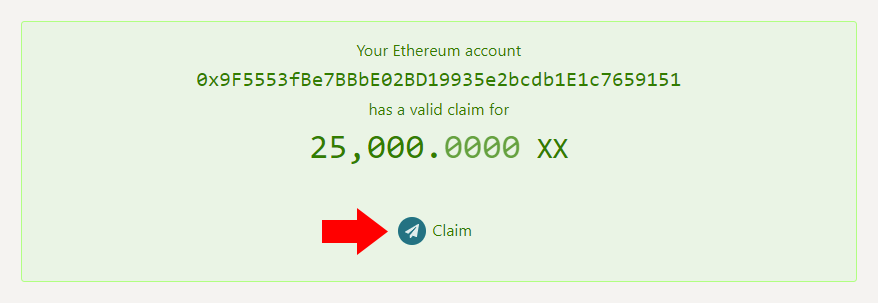
If you have tokens to claim, a new box will show up showing how many are available. Click the Claim button to claim the tokens.
-
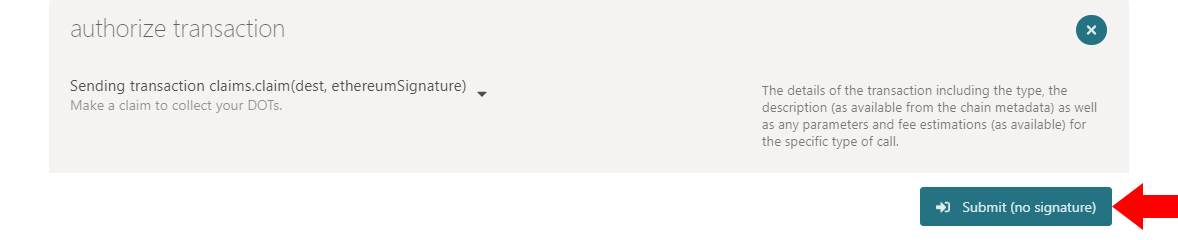
A window will appear asking you to authorize the transaction. Click the Submit (no signature) button to authorize.
-
On Success, you will see two notifications in the top right of the windows similar to below.
